Custom Parts Testing and Quality Assurance ensures that 3D printed components meet the highest standards of performance, durability, and precision. Through rigorous testing and inspection, we validate functionality, material properties, and dimensional accuracy, ensuring reliability for various applications.
The Glow Discharge Mass Spectrometer (GDMS) is an advanced analytical tool used primarily to determine solid samples' elemental composition, particularly metals, alloys, semiconductors, and ceramics.
Main Function
Glow Discharge Mass Spectrometer (GDMS)
Link
Elemental Analysis
GDMS provides compassionate and accurate elemental composition analysis for various materials. It can detect trace and ultra-trace elements, often down to parts-per-billion (ppb) levels.
GDMS can analyze the composition of a sample layer by layer, making it helpful in understanding the distribution of elements within coatings or materials that have undergone surface treatments or modifications.
GDMS can analyze both major and trace elements in a sample, which is essential for high-purity materials used in industries like aerospace, electronics, and energy.
Due to its high sensitivity, GDMS is often employed in industries that demand high-purity materials, such as semiconductor manufacturing or high-performance alloys, ensuring that impurities are within acceptable limits.
Since the glow discharge process only affects a small part of the sample's surface, GDMS is considered minimally invasive, leaving most of the sample intact.
The Carbon Sulfur Analyzer measures superalloys' carbon and sulfur content, ensuring proper alloy composition and preventing defects like brittleness and cracking. It plays a crucial role in quality control by maintaining alloy purity and optimizing mechanical properties. This testing process ensures the production of reliable, high-performance superalloy parts, such as turbine blades, for aerospace and energy applications.
Main Function
Carbon Sulfur Analyzer
Link
Alloy Purity Verification
It confirms the purity of the superalloy by identifying and controlling unwanted elements, contributing to the overall quality and performance of components like turbine blades.
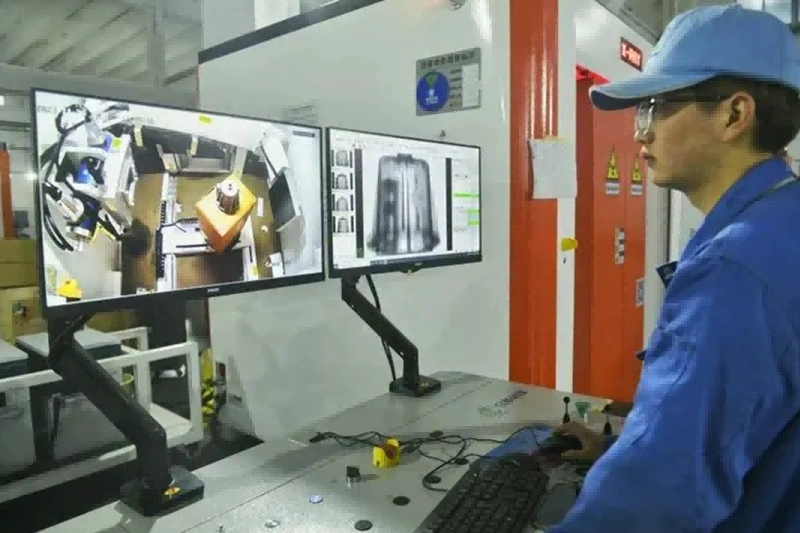
The X-ray Inspection Workshop performs non-destructive testing to detect internal defects like cracks and porosity in superalloy castings. It ensures structural integrity, verifies dimensional accuracy, and supports quality control by examining parts without causing damage. This inspection process is essential for certifying the reliability and performance of high-precision components like turbine blades in aerospace and energy industries.
Main Function
X-ray Inspection Machine
Link
Detecting Internal Defects
It identifies internal defects like porosity, cracks, and inclusions within cast parts, which are not visible on the surface but can affect performance.
The inspection verifies that superalloy parts, such as turbine blades, meet strict structural requirements for high-stress applications in the aerospace and energy sectors.
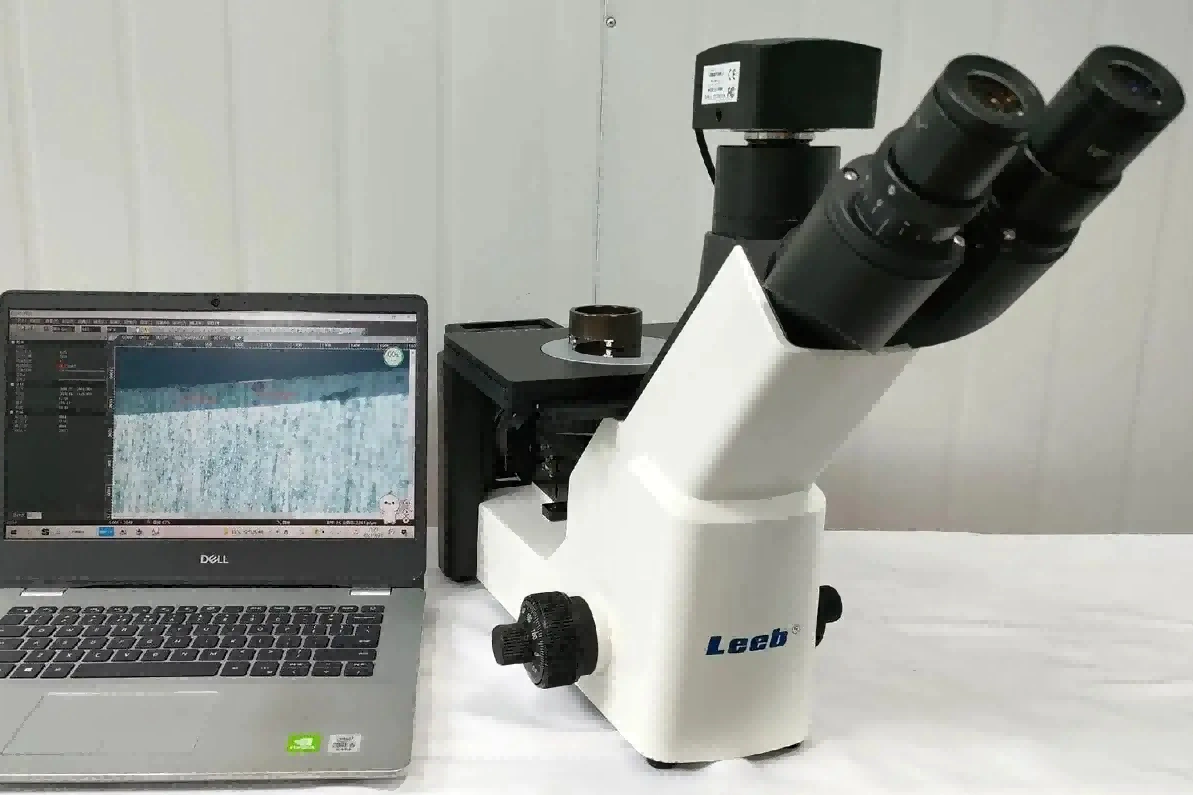
Metallographic Microscopy examines the microstructure of superalloy casting parts, identifying defects like cracks and inclusions and assessing grain size and phase composition. It verifies the effectiveness of heat treatments and ensures the alloy’s mechanical properties meet design specifications. This detailed analysis is essential for producing high-performance, durable components in critical industries such as aerospace and energy.
Main Function
Metallographic Microscopy
Link
Microstructure Analysis
It examines the grain structure, phase distribution, and crystallographic features of superalloys, ensuring proper formation and performance characteristics.
Confirms the presence and distribution of various phases (e.g., gamma prime) to ensure that the alloy meets design specifications for high-temperature performance.
Verifies the effectiveness of heat treatment processes by evaluating changes in the microstructure, ensuring that the parts meet mechanical and thermal requirements.
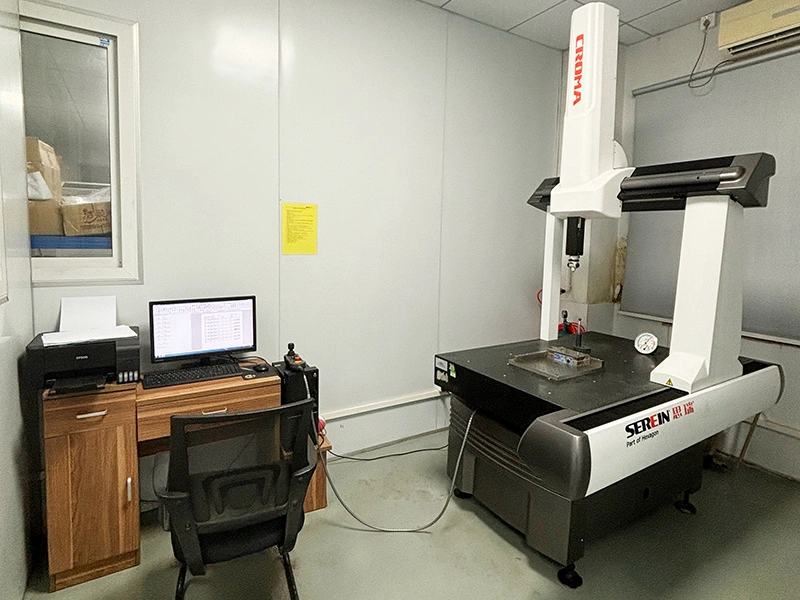
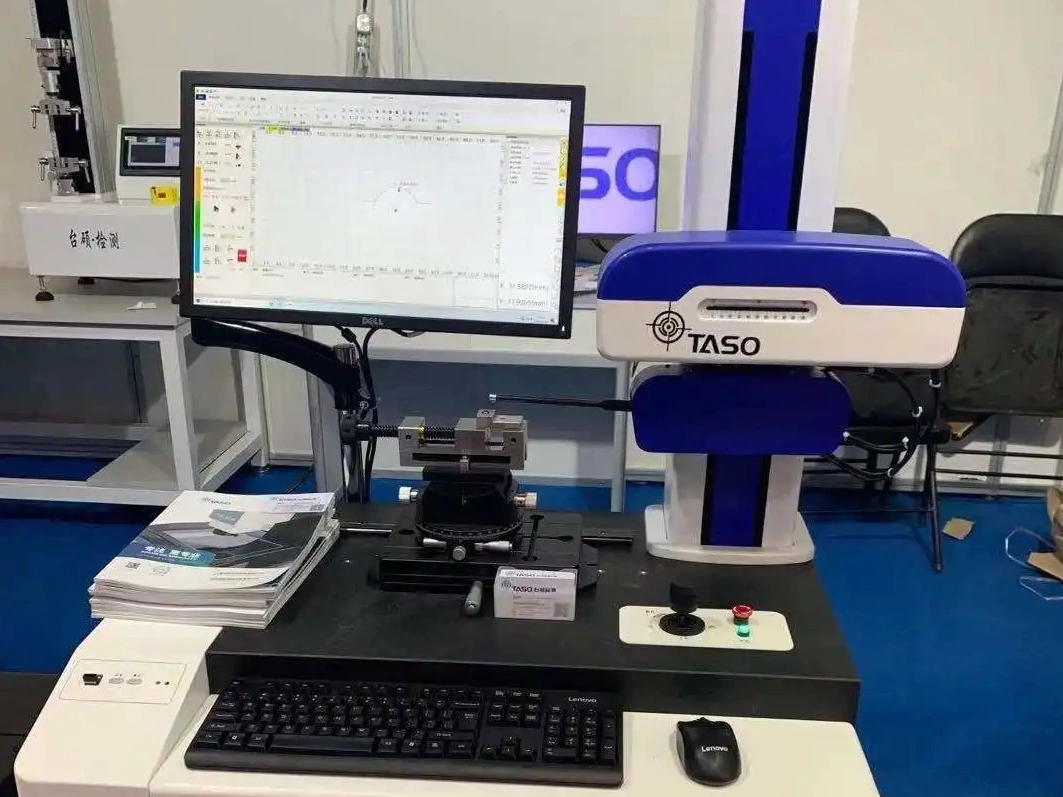
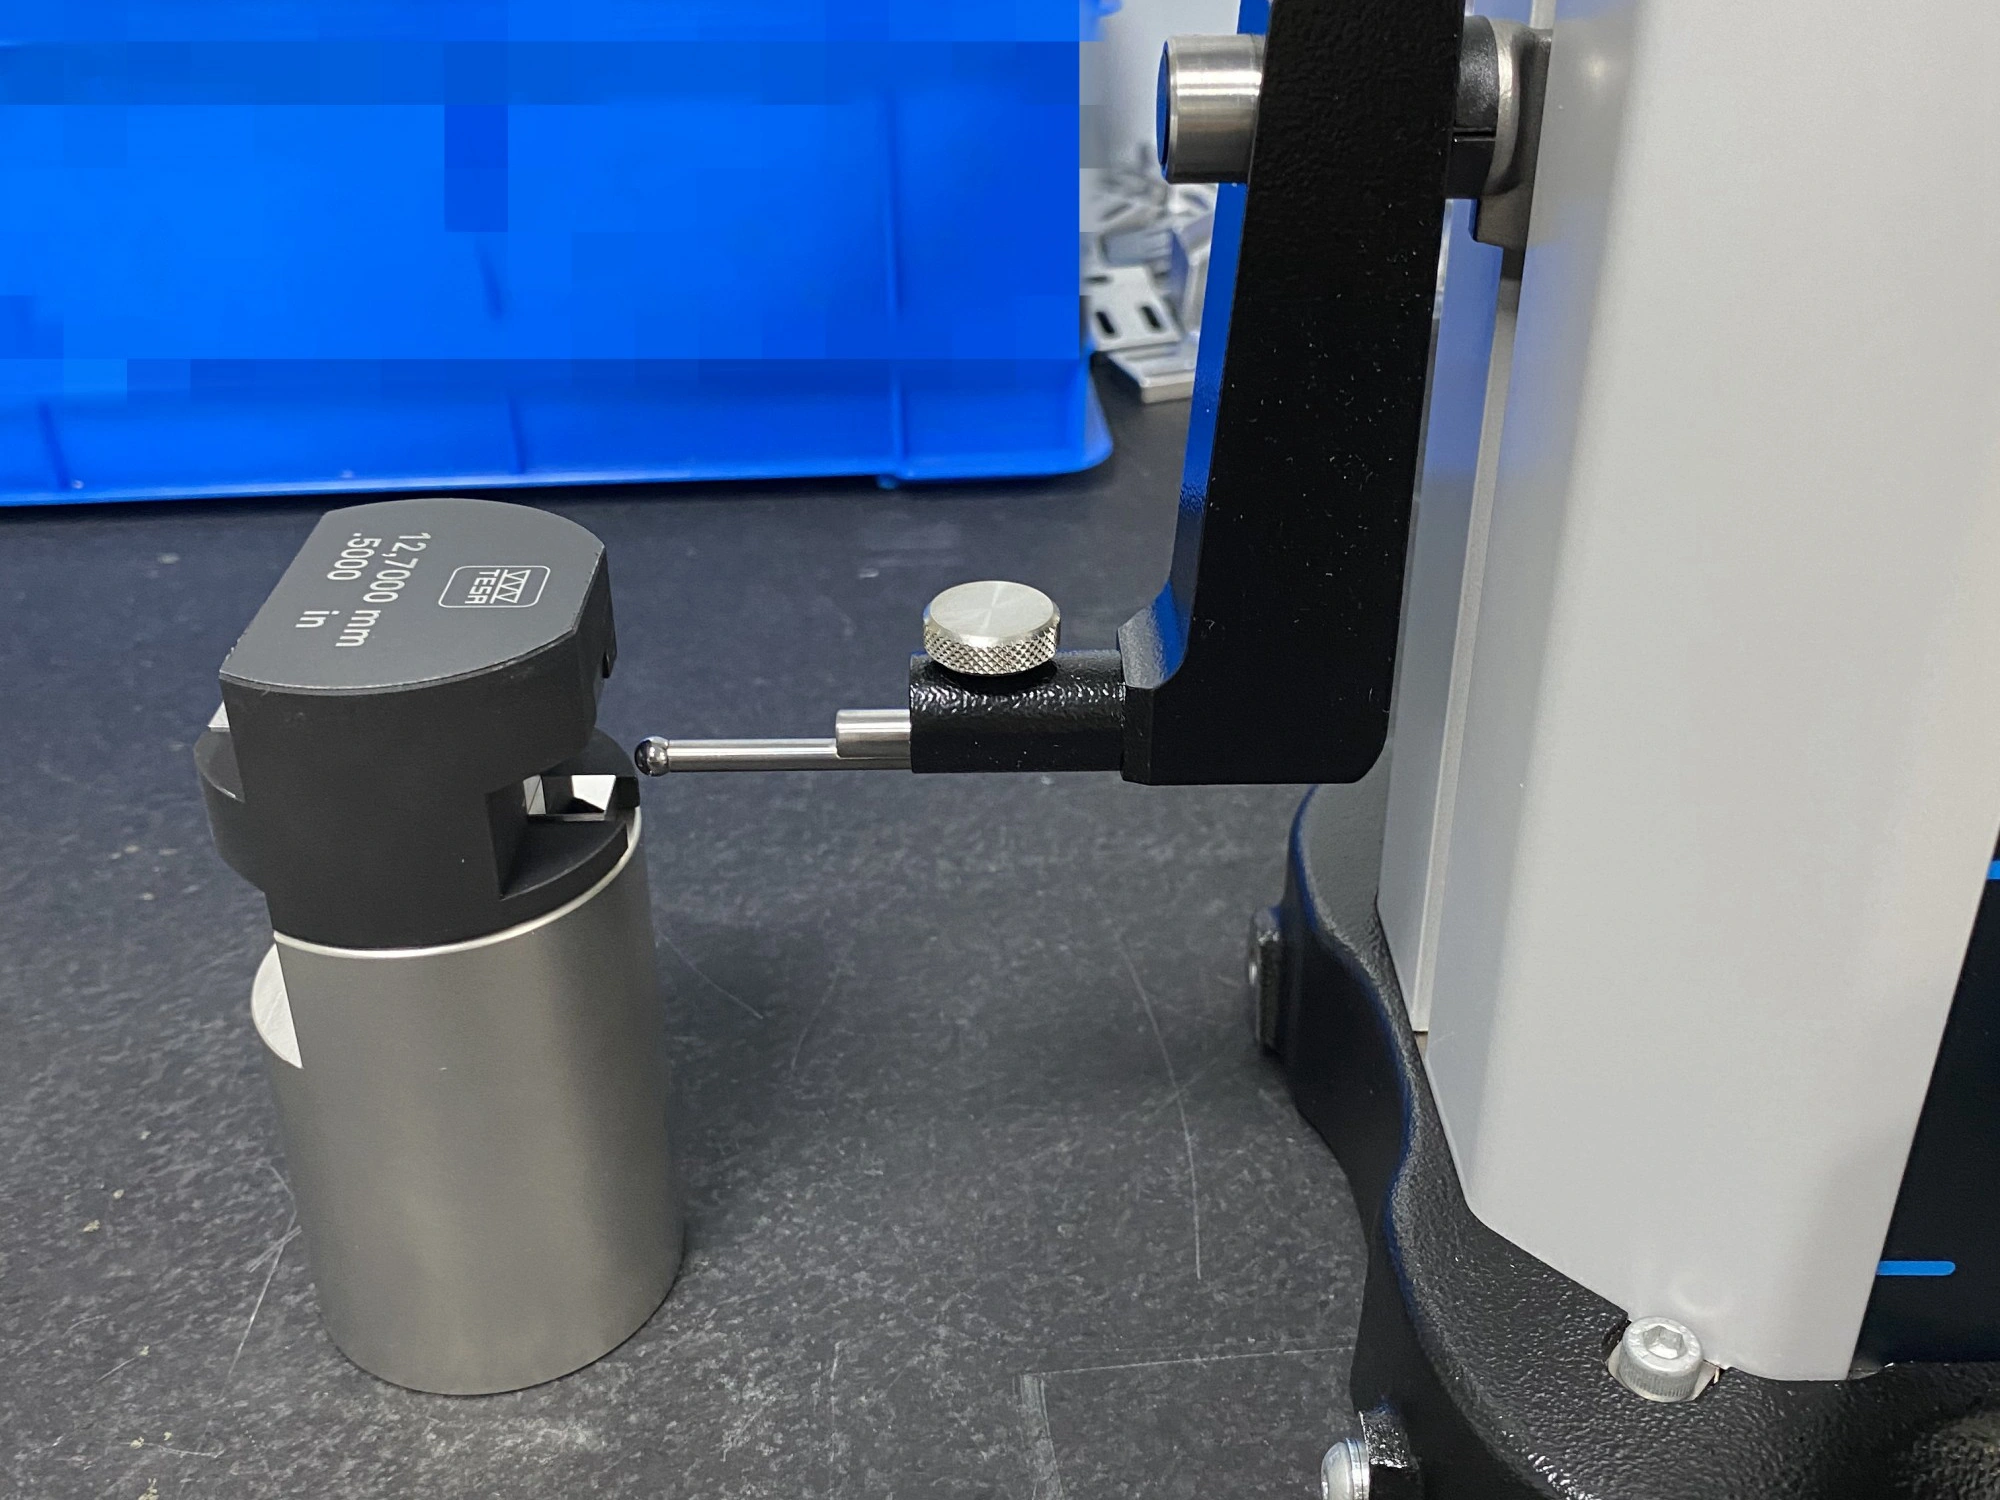
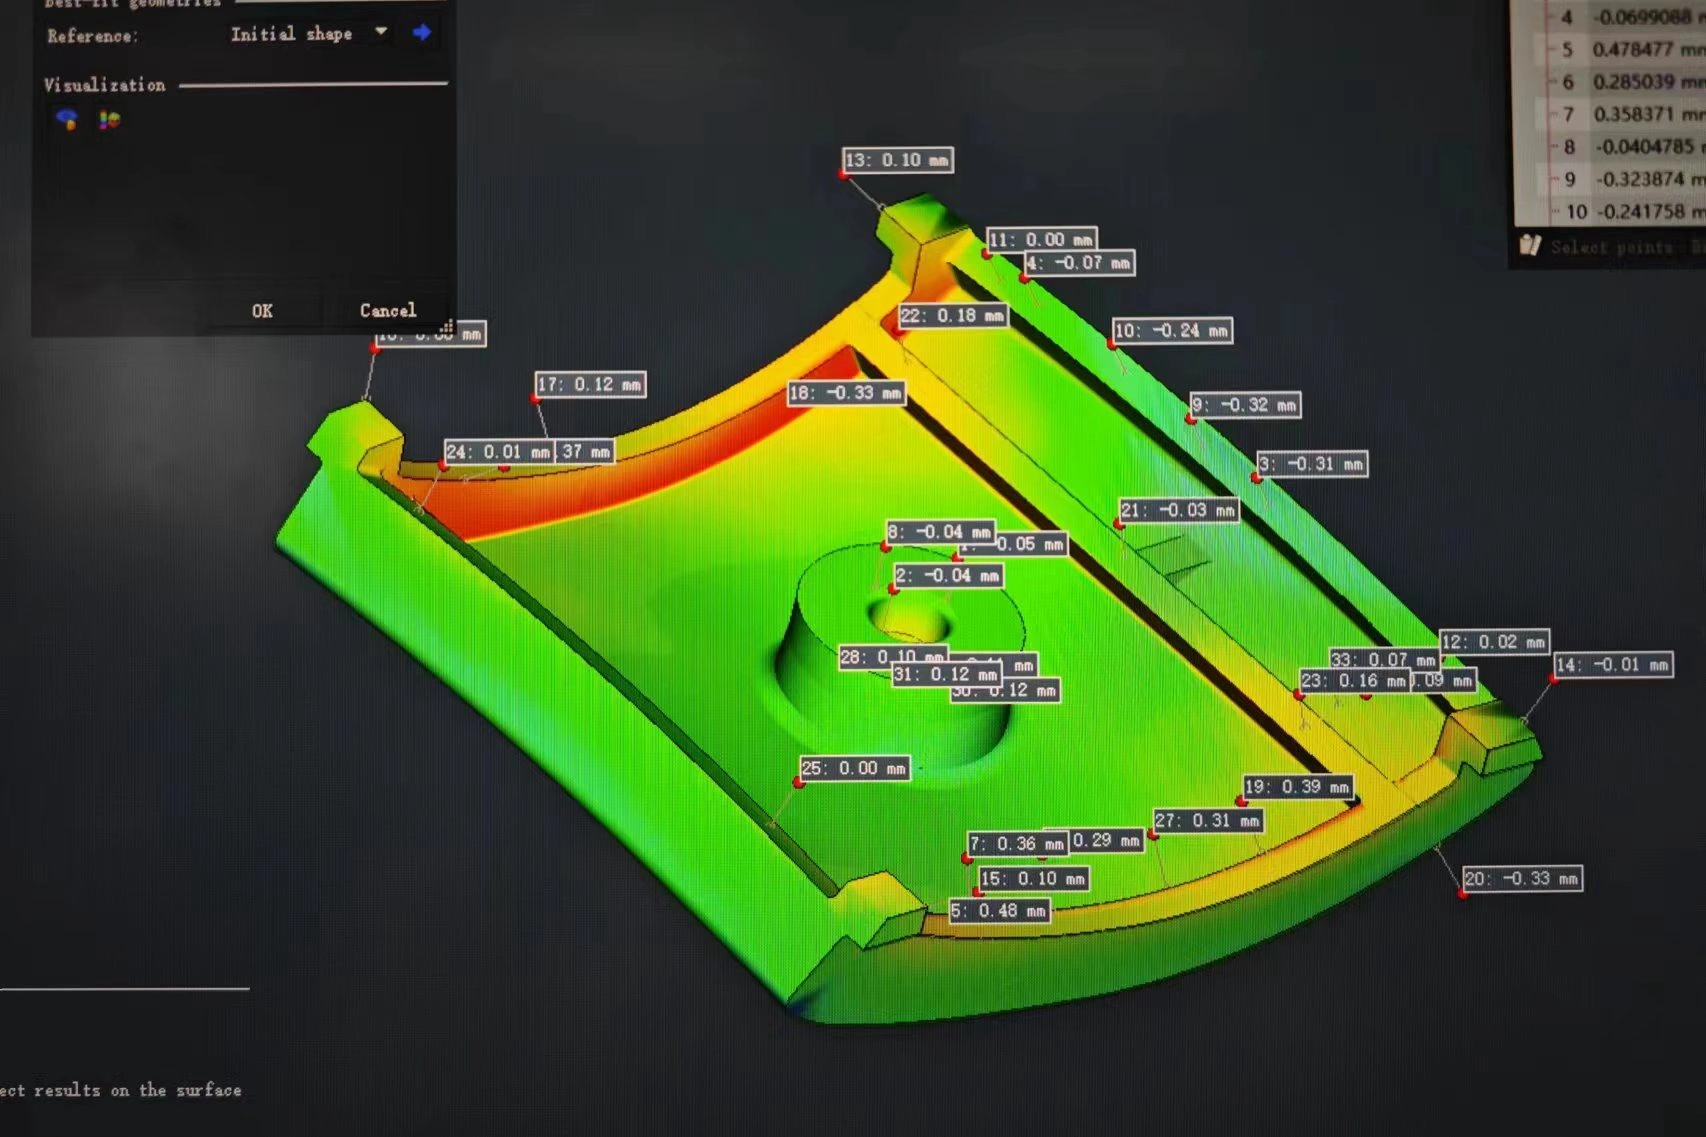
The 3D Scanning Measuring Instrument ensures dimensional accuracy and surface quality of superalloy parts by creating precise 3D models. It detects defects, performs quality control, and compares scanned parts to CAD designs for consistency. Additionally, it supports reverse engineering by generating detailed models, making it essential for producing high-precision components in industries like aerospace and energy.
Main Function
3D Scanning Measuring Instrument
Link
Dimensional Accuracy Verification
It creates precise 3D models to ensure parts meet design specifications, detecting any deviations from required dimensions.
The Stereo Microscope enables detailed inspection of superalloy parts by detecting surface defects, examining intricate features, and visualizing grain structures. It allows for non-destructive testing and precise dimensional measurements, ensuring parts meet high-quality standards. This tool is crucial for verifying the reliability and performance of superalloy components used in demanding industries like aerospace and energy.
Main Function
Stereo Microscope
Link
Dimensional Accuracy Verification
Surface Defect Detection: It provides a high-magnification view of the part's surface to identify defects like cracks, pits, and inclusions.
The Scanning Electron Microscope (SEM) provides high-resolution imaging and chemical composition analysis of superalloy parts. It detects surface defects, analyzes microstructures, and investigates fracture surfaces to identify failure mechanisms. SEM ensures the quality, integrity, and performance of superalloy components, making it essential for industries like aerospace and energy, where precision and reliability are critical.
Main Function
Scanning Electron Microscope (SEM)
Link
High-Resolution Imaging
Provides detailed, high-magnification images of the surface and microstructure of superalloy parts, revealing fine details and defects not visible with optical microscopes.
Through energy-dispersive X-ray spectroscopy (EDS), SEM analyzes the elemental composition of superalloy parts, verifying alloy composition and identifying impurities.
Electronic Universal Room Temperature Tensile Testing Machine
The Electronic Universal Room Temperature Tensile Testing Machine measures superalloy parts' tensile strength, yield strength, elongation, and elastic modulus. It evaluates their mechanical properties and resistance to stress, providing critical data on material stiffness, ductility, and fracture behavior. This testing ensures that superalloy components meet performance standards for high-stress applications in the aerospace and energy industries.
Main Function
Electronic Universal Room Temperature Tensile Testing Machine
Link
Tensile Strength Measurement
It measures the maximum stress a superalloy part can withstand before breaking, determining its tensile strength.
The Direct Reading Spectrometer performs rapid, non-destructive analysis of superalloy parts, identifying and quantifying their elemental composition. It verifies alloy grades, detects impurities, and ensures chemical consistency for quality control. This device is essential for maintaining the integrity and performance of superalloy components used in high-stress applications like aerospace and energy industries.
Main Function
Direct Reading Spectrometer
Link
Tensile Strength Measurement
Elemental Composition Analysis: It quickly identifies and quantifies the elemental composition of superalloy parts, ensuring they meet the required chemical specifications
The Simultaneous Thermal Analyzer (STA) evaluates the thermal properties of superalloy parts by measuring thermal stability, phase transitions, heat capacity, decomposition, and oxidation behavior. It provides critical insights into how superalloys perform under high temperatures, ensuring their reliability and efficiency in demanding applications like aerospace and power generation, where thermal resistance is essential.
Main Function
Simultaneous Thermal Analyzer (STA)
Link
Thermal Stability Testing
Measures how superalloy parts react to heat, determining their stability at high temperatures.
The Dynamic and Static Fatigue Tester evaluates the durability of superalloy parts by measuring their performance under cyclic and constant loads. It analyzes crack propagation and stress resistance and predicts the life cycle of components. This testing ensures that superalloy parts, like turbine blades, can withstand the demands of high-stress environments in aerospace and energy industries.
Main Function
Dynamic and Static Fatigue Tester
Link
Dynamic Fatigue Testing
Measures the part’s performance under cyclic loading conditions, determining its fatigue life and how it withstands repeated stress over time.
The Line Array Industrial CT provides high-resolution 3D imaging for non-destructive testing of superalloy parts. It detects internal defects, verifies dimensional accuracy, analyzes material density, and inspects complex geometries. This ensures components' quality, precision, and reliability, making it essential for industries like aerospace and energy, where high-performance superalloy parts are critical.
Main Function
Line Array Industrial CT
Link
Internal Defect Detection
It provides high-resolution 3D imaging to detect internal defects, such as cracks, voids, and inclusions, which are not visible through surface inspection.
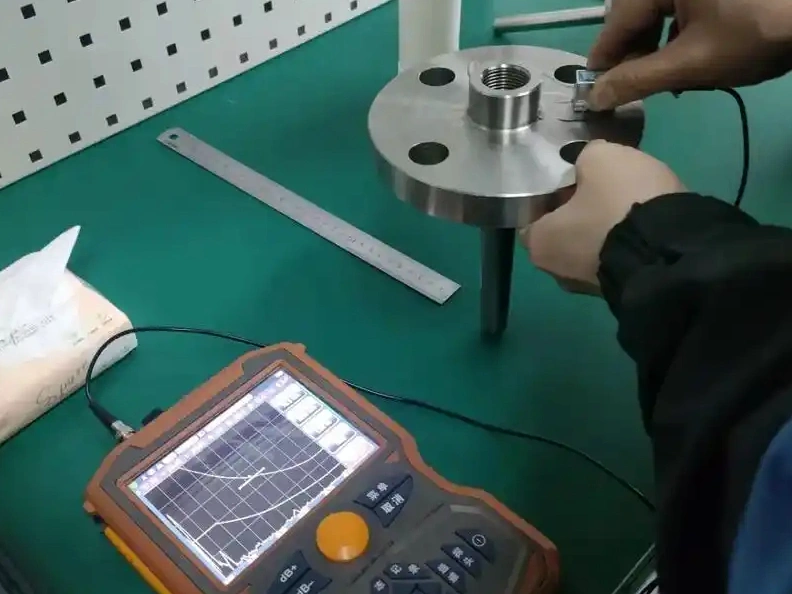
The Water Immersion Ultrasonic Inspection Equipment detects internal defects, measures thickness, evaluates bond quality, and checks material homogeneity in superalloy parts. It provides non-destructive testing using ultrasonic waves, ensuring structural integrity and compliance with design specifications. This technology is crucial for verifying the quality and reliability of components in high-performance industries like aerospace and energy.
Main Function
Water Immersion Ultrasonic Inspection Equipment
Link
Internal Defect Detection
It uses ultrasonic waves to detect internal flaws like cracks, voids, and inclusions in superalloy parts, ensuring structural integrity.
The Surface Corrosion Production Line tests and enhances the corrosion resistance of superalloy parts by simulating harsh environments, applying protective treatments, and revealing surface defects. It ensures parts meet quality standards for corrosion resistance and adjusts surface roughness for optimal performance. This process is vital for superalloy components in extreme conditions, such as aerospace and energy applications.
Main Function
Surface Corrosion Production Line
Link
Corrosion Resistance Testing
Simulates harsh environments to assess the alloy's resistance to oxidation, rust, and other forms of corrosion, ensuring long-term durability.
The Inductively Coupled Plasma Optical Emission Spectrometer (ICP-OES) analyzes the elemental composition of superalloy parts, detecting trace elements and impurities. It ensures alloy grade verification, quality control, and compliance with industry standards. This non-destructive testing method is crucial for maintaining superalloy components' chemical integrity and performance in high-stress environments like aerospace and energy.
Verifies the chemical composition of superalloy parts to maintain consistency and reliability during production, ensuring they meet industry standards.
The Electron Backscattering Diffractometer (EBSD) analyzes the microstructure of superalloy parts by mapping crystallographic orientation, characterizing grain boundaries, identifying phases, and evaluating strain and deformation. It also aids in failure analysis. This detailed microstructural insight ensures optimal mechanical performance and reliability of superalloy components in high-stress environments like aerospace and energy industries.
Main Function
Electron Backscattering Diffractometer (EBSD)
Link
Crystallographic Orientation Mapping
EBSD provides detailed maps of the crystallographic orientation of grains, helping to assess the material's texture and anisotropy.
It identifies the types and orientations of grain boundaries, crucial for understanding grain growth, mechanical properties, and resistance to cracking.
Helps determine the cause of failure by analyzing fracture surfaces and identifying factors like grain misorientation or phase transformation that could lead to component degradation.
The Thermal Physical Properties Test Platform measures key thermal characteristics of superalloy parts, including thermal conductivity, specific heat capacity, thermal expansion, and thermal diffusivity. It also evaluates high-temperature stability, ensuring that superalloy components maintain performance and dimensional stability under extreme heat. These tests are critical for validating the durability and reliability of superalloys in aerospace and energy applications.
Main Function
Thermal Physical Properties Test Platform
Link
Thermal Conductivity Measurement
Determines how efficiently a superalloy transfers heat, critical for high-temperature applications like turbine blades.