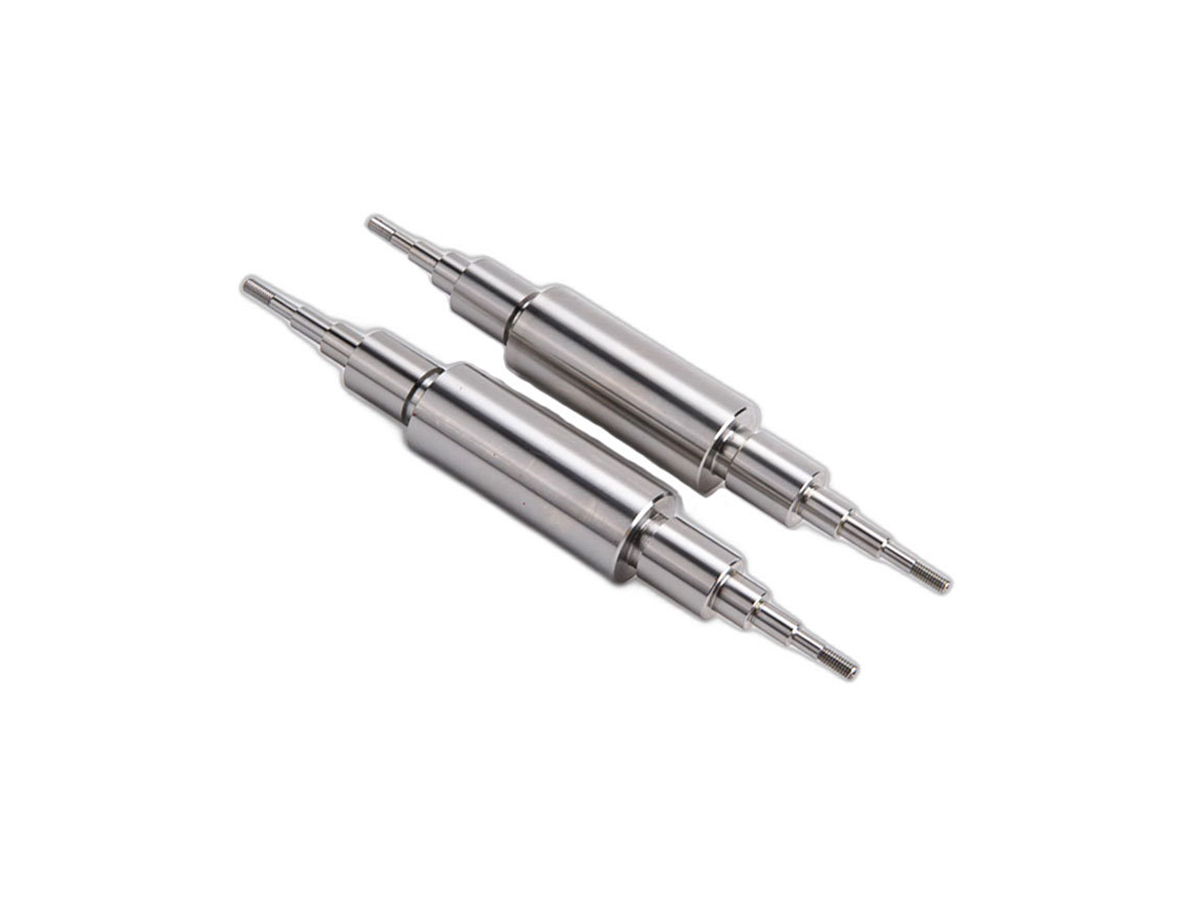
Titanium CNC Grinding: How the Aerospace Industry Relies on High-Performance Parts
Precision Grinding for Extreme Aerospace Demands
Aerospace components require materials that withstand high stress, extreme temperatures, and corrosive environments. With their strength-to-weight ratio 3x higher than steel, titanium alloys now constitute 30% of modern jet engine components. CNC grinding services achieve surface finishes down to Ra 0.1μm and tolerances of ±0.002mm, critical for turbine blades and landing gear assemblies.
The shift toward fuel-efficient aircraft like the Boeing 787 and Airbus A350 has increased titanium usage. Advanced multi-axis CNC machining enables complex airfoil geometries and fatigue-resistant surfaces, reducing component weight by 25-40% while meeting AS9100 and AMS 4928 specifications.
Material Selection: Titanium Alloys for Aerospace
Material | Key Metrics | Aerospace Applications | Limitations |
|---|---|---|---|
1,000 MPa UTS, 10% elongation | Fan blades, compressor disks | Requires flood cooling during grinding | |
860 MPa UTS, 15% elongation | Hydraulic system fittings | Limited to 400°C operating temperatures | |
1,250 MPa UTS, 6% elongation | Landing gear forgings | Complex heat treatment required | |
690 MPa UTS, 20% elongation | Fuel system tubing | Lower strength than Grade 5 |
Material Selection Protocol
Engine Hot Sections
Rationale: Ti-6Al-4V’s 450°C thermal stability makes it ideal for turbine blades. Post-grinding thermal barrier coatings extend service life by 300%.
Validation: Pratt & Whitney GTF engines use Ti-6Al-4V for 20,000+ flight cycles.
Structural Components
Logic: Ti-10V-2Fe-3Al achieves 1,250 MPa UTS for landing gear, with fracture toughness exceeding 70 MPa√m.
CNC Grinding Process Optimization
Process | Technical Specifications | Aerospace Applications | Advantages |
|---|---|---|---|
Ra 0.1μm, ±0.002mm flatness | Turbine blade platforms | Achieves 0.005mm parallelism | |
0.005mm roundness, 0.8μm Ra | Landing gear axles | Maintains 0.01mm/m straightness | |
±0.003mm diameter tolerance | Fastener pins | High-volume production (500+ pcs/hr) | |
5mm depth of cut, 0.5m/min feed rate | Turbine root forms | Reduces cycle time by 50% |
Process Strategy for Turbine Blade Grinding
Rough Grinding:
Tooling: CBN wheels (120 grit) remove 80% material at 30 m/s wheel speed.
Coolant: High-pressure emulsion (80 bar) prevents workpiece hardening.
Stress Relief:
Protocol: 600°C vacuum annealing (per AMS 2801) for 4 hours.
Finish Grinding:
Technology: Diamond wheels (SD 3250) achieve Ra 0.1μm with 0.25μm stepover.
Metrology: In-process laser measurement corrects thermal drift.
Surface Enhancement:
Treatment: Laser shock peening induces 500 MPa compressive stresses.
Surface Engineering: Enhancing Fatigue Resistance
Treatment | Technical Parameters | Aerospace Benefits | Standards |
|---|---|---|---|
25μm thickness, 300 HV hardness | Corrosion protection for fasteners | MIL-A-8625 Type II | |
0.3mm Almen intensity, 200% coverage | 300% fatigue life improvement | SAE AMS 2432 | |
TiAlN, 3μm thickness, 3,200 HV | Wear resistance for gear shafts | VDI 3198 | |
Ra 0.05μm, 20μm material removal | Reduces airflow turbulence | ASTM B912 |
Coating Selection Logic
Engine Components
Solution: MCrAlY coatings applied via HVOF withstand 1,100°C exhaust gases.
Landing Gear
Method: Cadmium plating (8-15μm) prevents hydrogen embrittlement.
Quality Control: Aerospace Validation
Stage | Critical Parameters | Methodology | Equipment | Standards |
|---|---|---|---|---|
Material Certification | O: ≤0.20%, Fe: ≤0.30% | Glow discharge spectrometry | SPECTROMAXx | AMS 4928 |
Surface Inspection | 0.02mm crack detection | Fluorescent penetrant testing | Magnaflux ZB-1000 | NAS 410 Level II |
Dimensional Check | 0.005mm profile tolerance | 3D laser scanning | GOM ATOS Core 300 | ASME Y14.5 |
Fatigue Testing | 10⁷ cycles @ 80% UTS | Resonant fatigue tester | Rumul Mikrotron | ASTM E466 |
Certifications:
NADCAP AC7114/1 for non-destructive testing.
AS9100D full-process traceability.
Industry Applications
Jet Engine Blades: Ti-6Al-4V with creep-feed grinding (Ra 0.1μm).
Landing Gear Trunnions: Ti-10V-2Fe-3Al + shot peening.
Aircraft Fasteners: Ti-3Al-2.5V + anodizing.
Conclusion
Precision aerospace CNC grinding services reduce component failure rates by 60% in critical flight systems. Integrated one-stop manufacturing cuts lead times by 35% while ensuring AS9100 compliance.
FAQ
Why is Ti-6Al-4V preferred for turbine blades?
How does shot peening improve fatigue life?
What certifications are required for aerospace grinding?
Can titanium replace steel in landing gear?
How to prevent work hardening during grinding?

