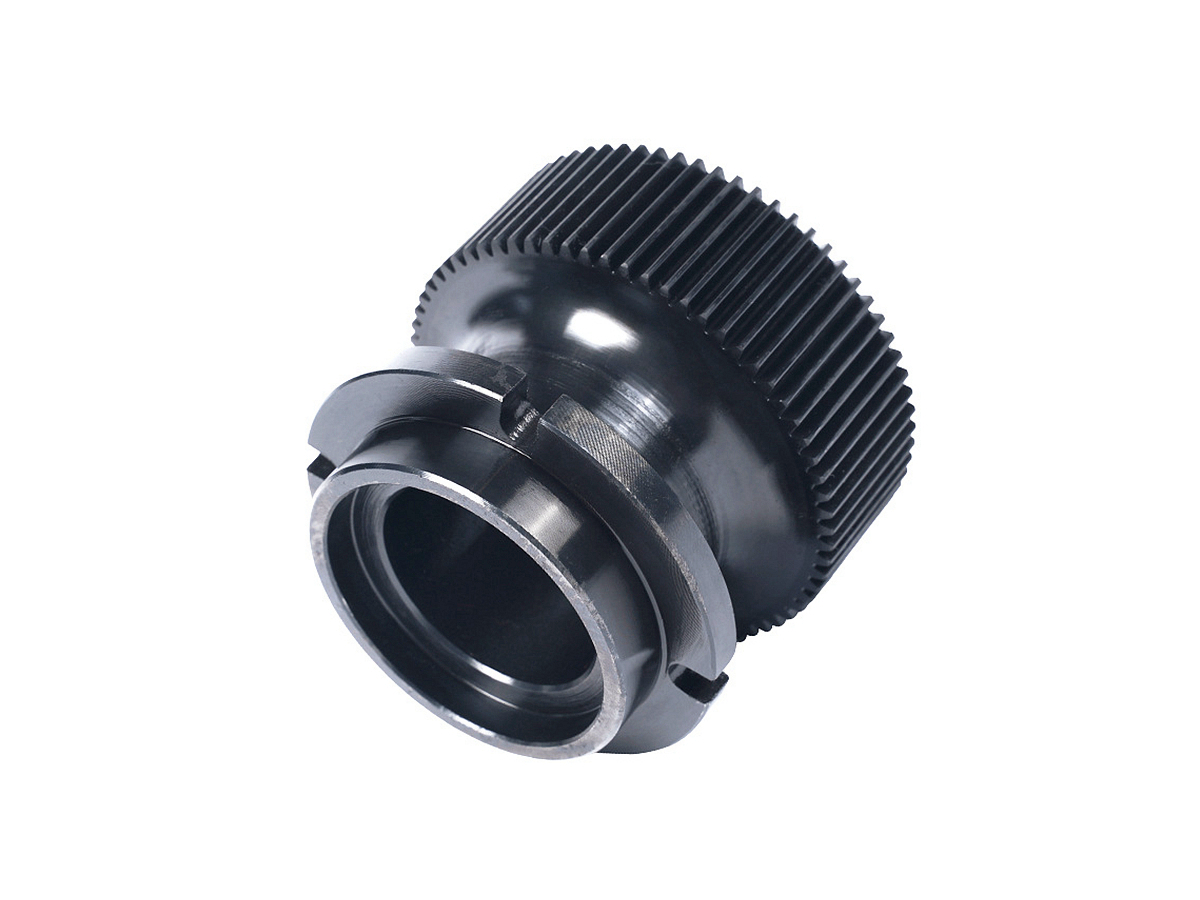
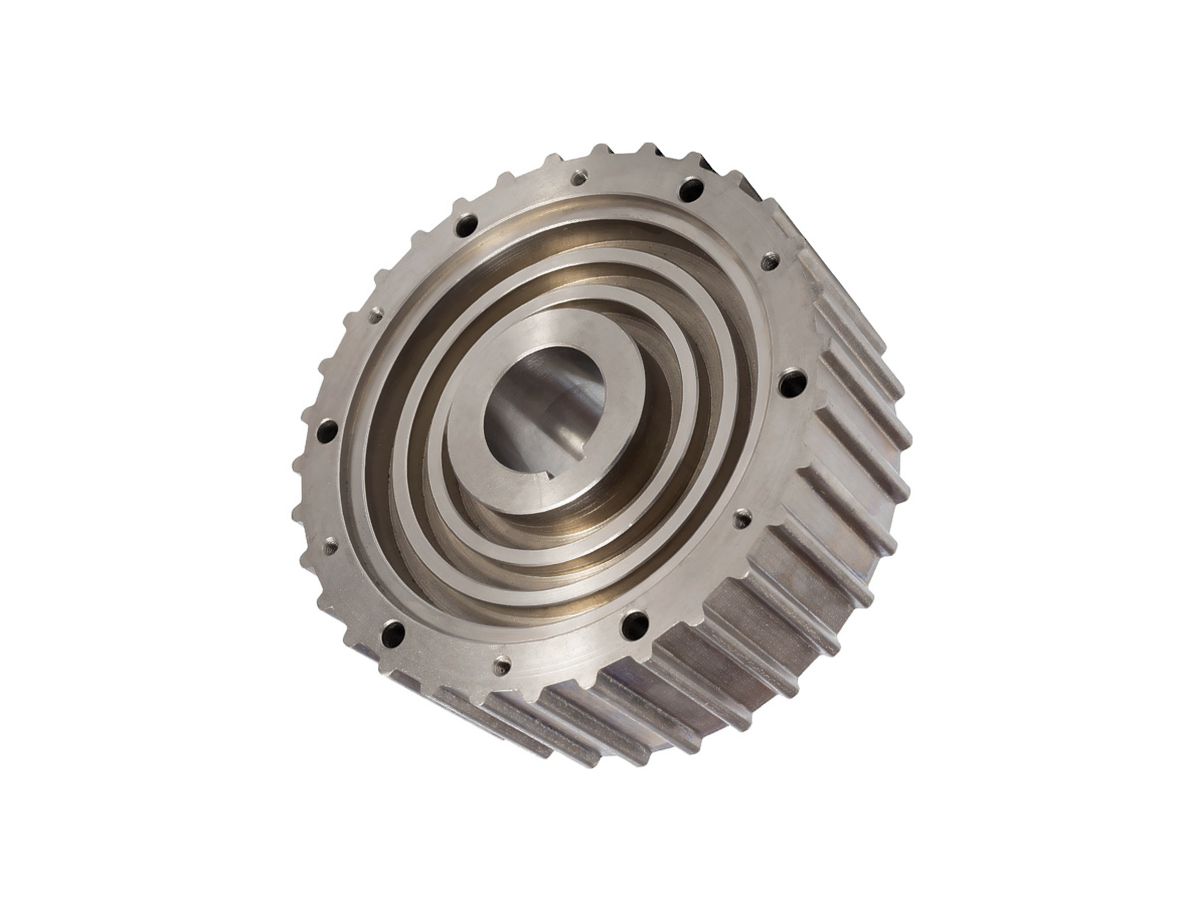
Custom Online CNC Boring Manufacturing Service
Our Custom Online CNC Boring Manufacturing Service offers precision boring for complex parts, with tight tolerances and smooth finishes. We provide online ordering, fast turnaround, and customization options, ensuring high-quality, cost-effective solutions for various industrial applications.
- Rapid Boring Prototyping Service
- Low Volume CNC Boring Service
- CNC Boring Mass Production Service
- One Stop CNC Boring Service
Send us your designs and specifications for a free quotation
All uploaded files are secure and confidential
What Is CNC Boring Manufacturing
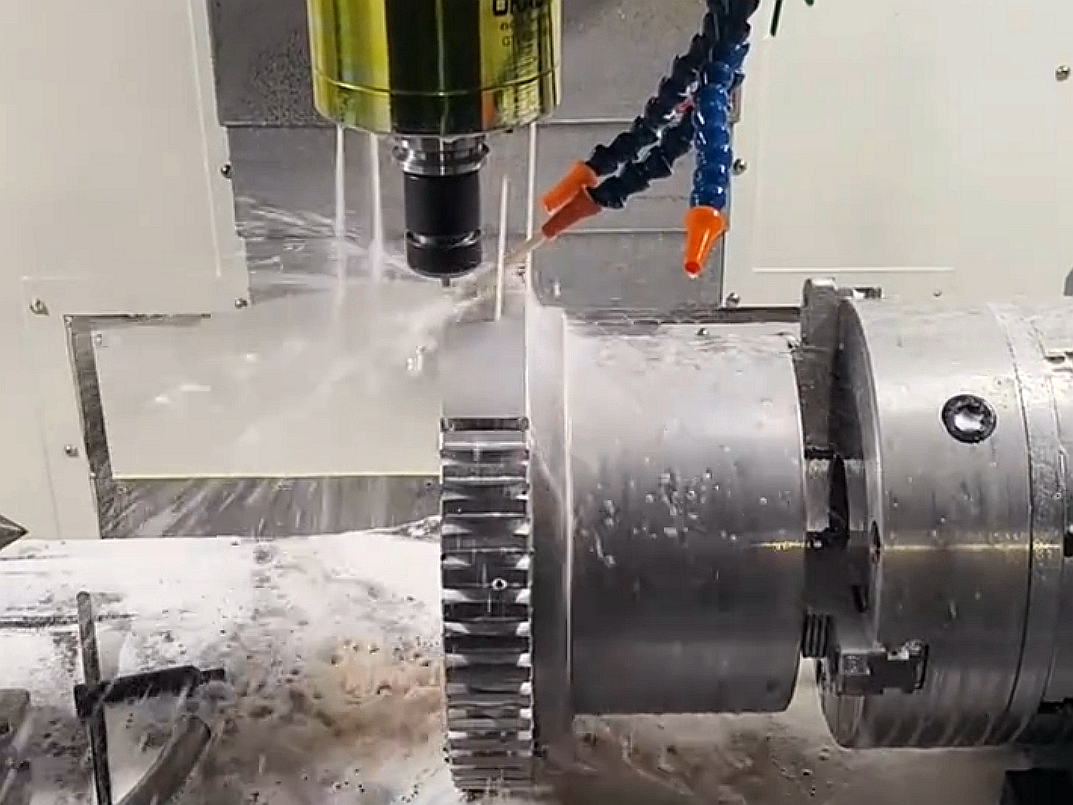
CNC Boring Manufacturing involves precision enlarging and shaping existing holes using CNC machinery. This process ensures tight tolerances, smooth finishes, and enhanced hole accuracy, making it ideal for creating cylindrical parts, improving dimensional accuracy, and achieving high-quality results.
Key Materials for Precision CNC Boring
CNC boring is commonly performed on a variety of materials, each offering unique properties. Superalloys and titanium are used for high-temperature applications, while aluminum, copper, brass, and bronze provide excellent machinability and corrosion resistance. Carbon and stainless steel offer strength and durability, while plastics and ceramics are ideal for lightweight and precise components in specialized industries.
Surface Finishings for CNC Boring Parts
Surface Finishings for CNC Boring Parts enhance the functionality and aesthetics of machined components. Options include polished, ground, and smooth finishes, ensuring tight tolerances, reduced friction, and optimal performance. These finishes are essential for precision parts across various industries.
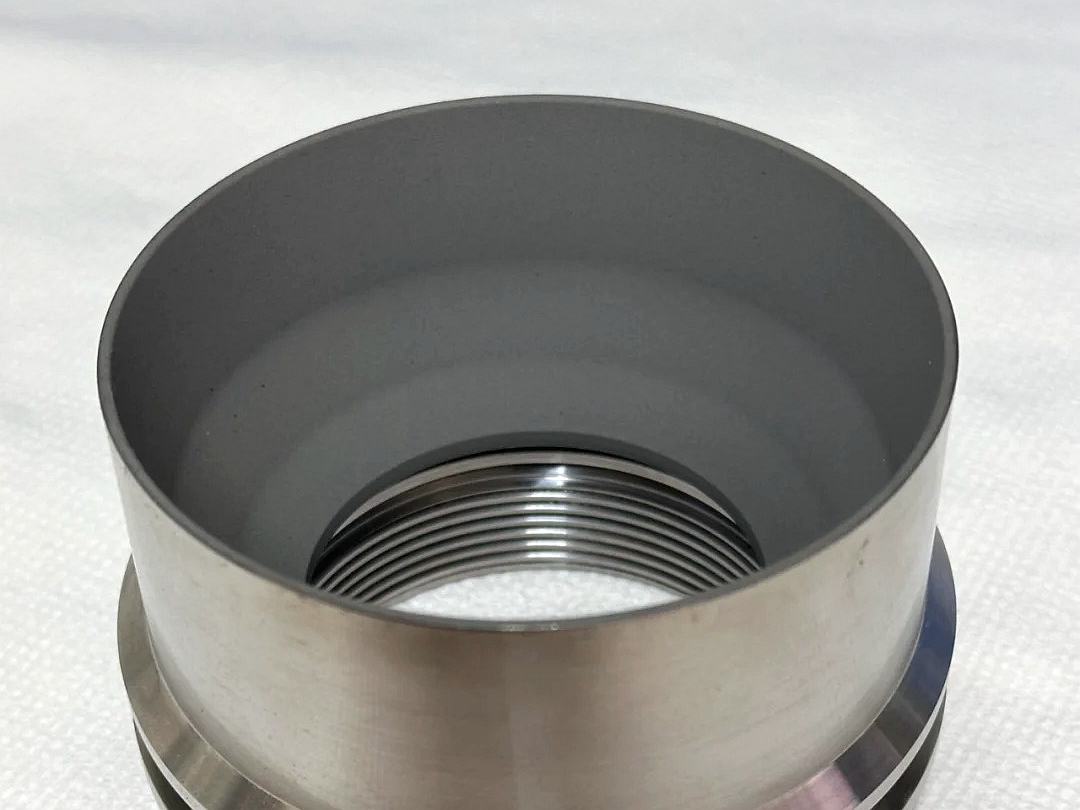
learn more
Thermal Coating
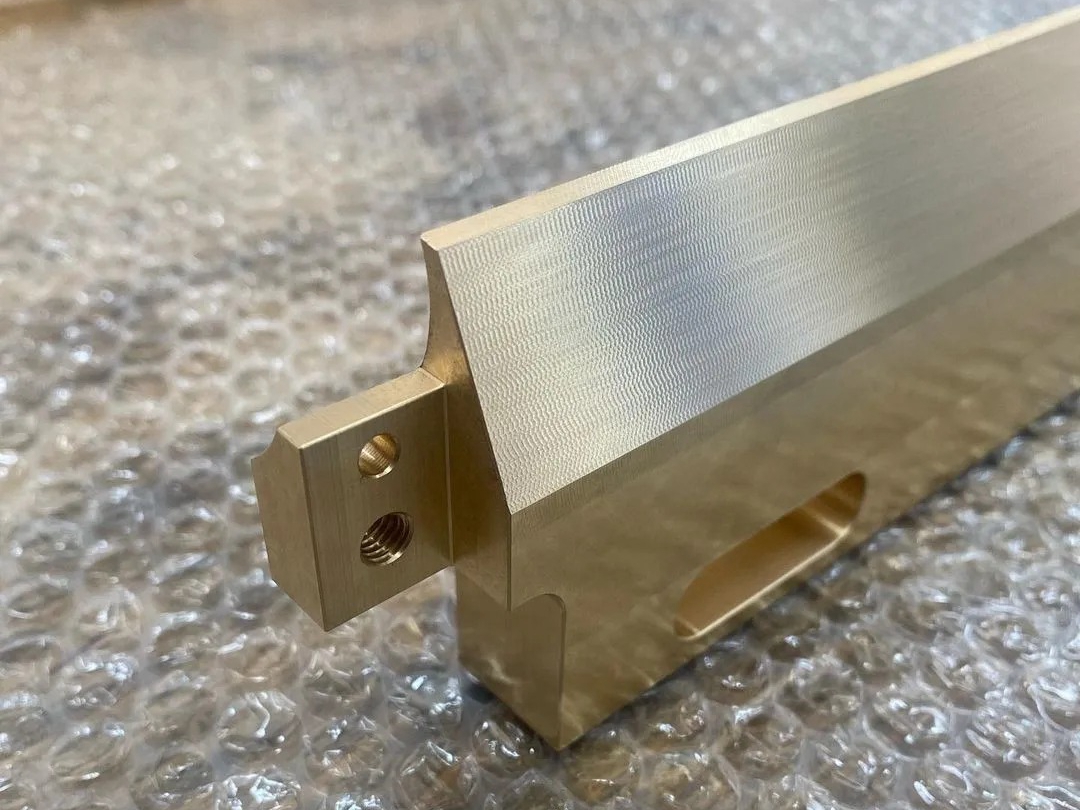
learn more
As Machined
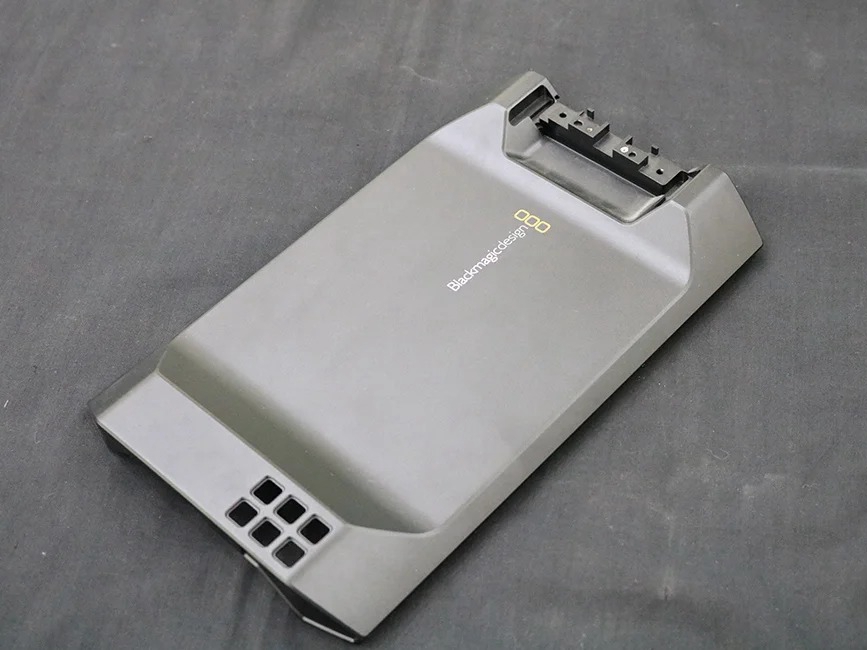
learn more
Painting
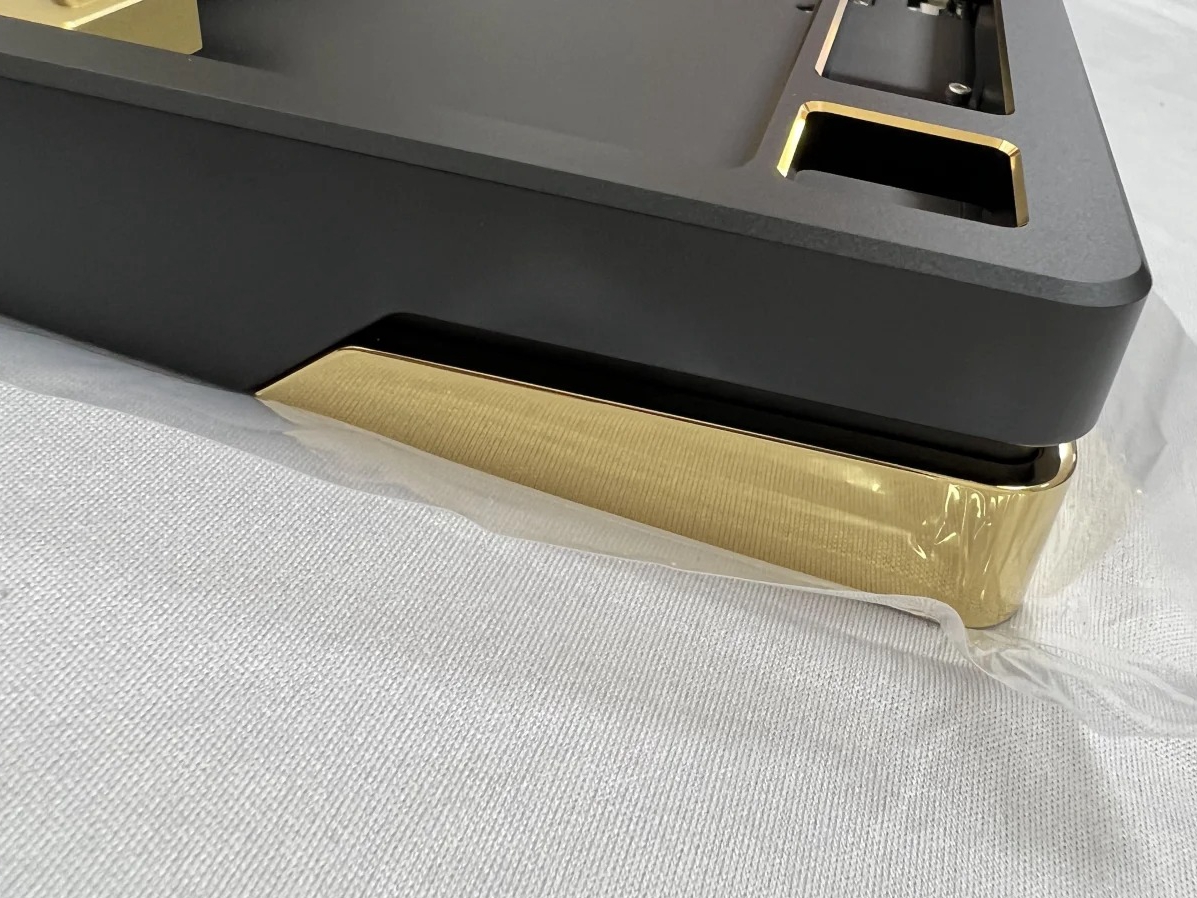
learn more
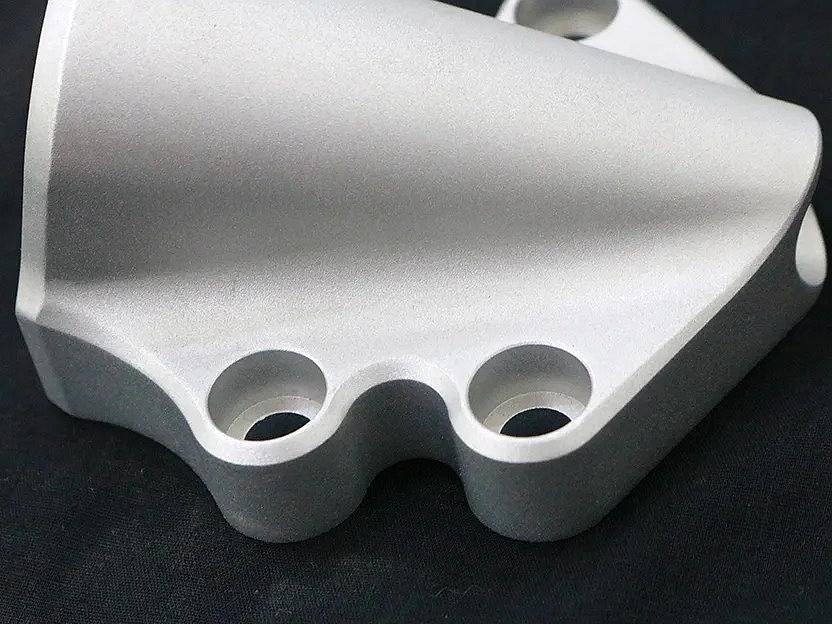
PVD (Physical Vapor Deposition)
learn more
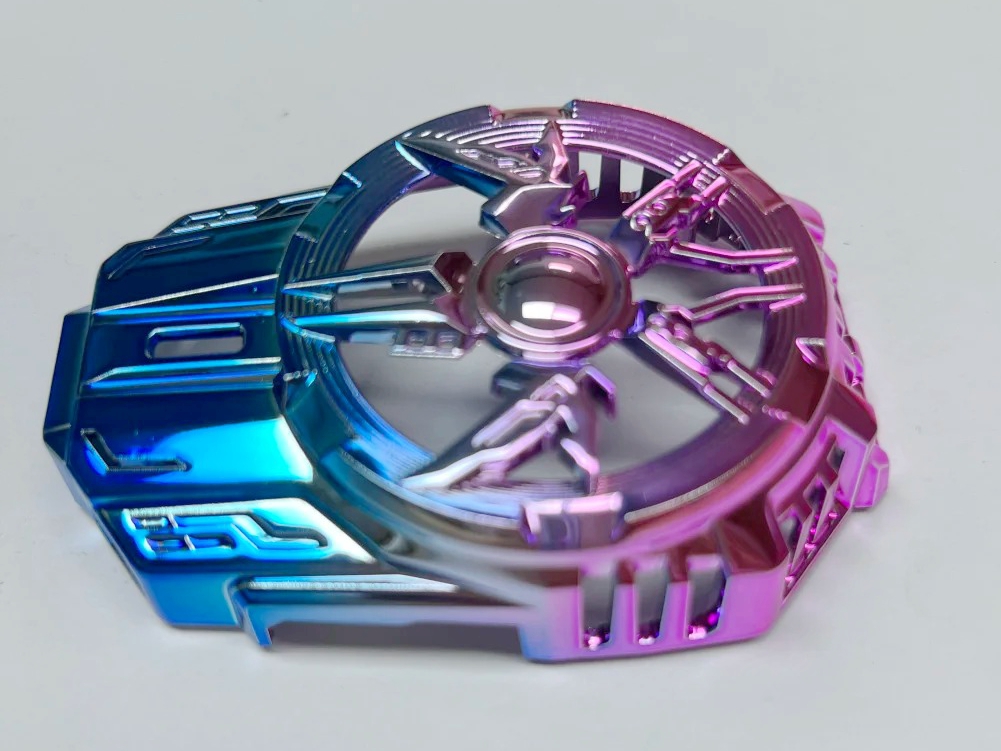
Sandblasting
learn more
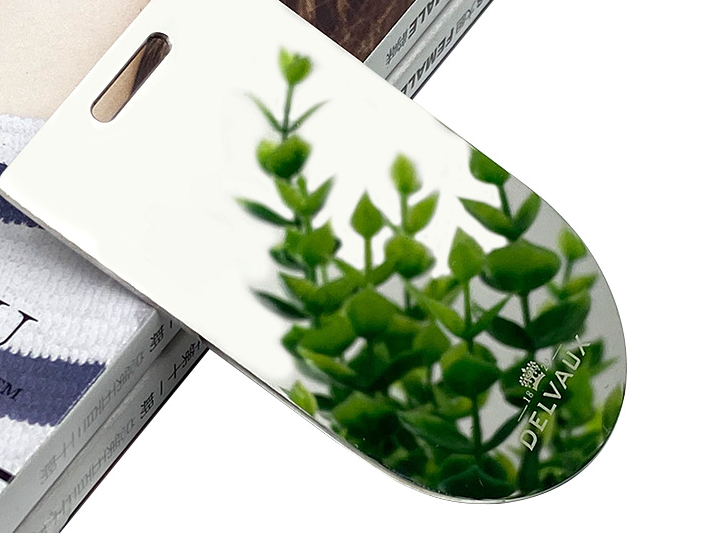
Electroplating
learn more
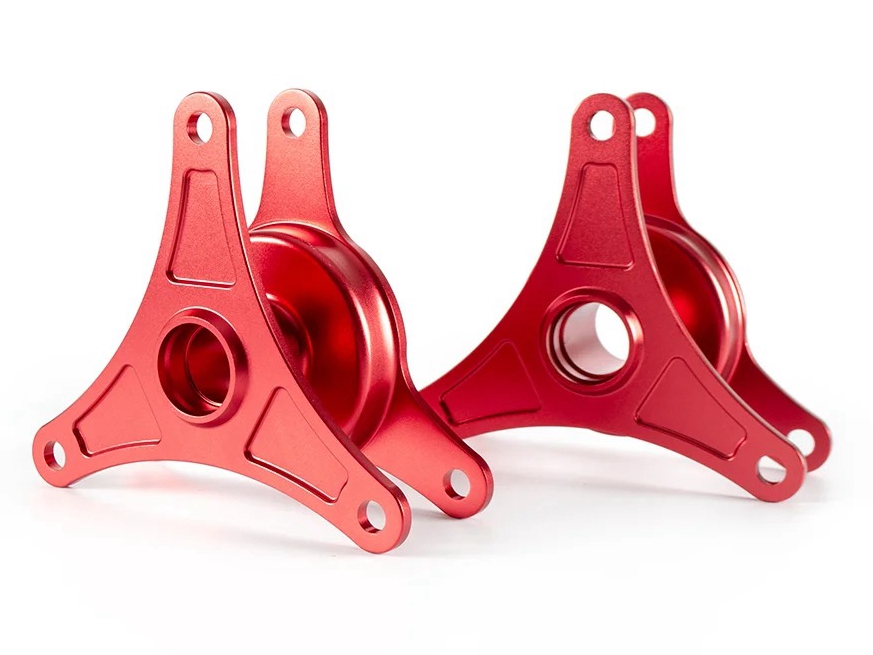
Polishing
learn more
Anodizing
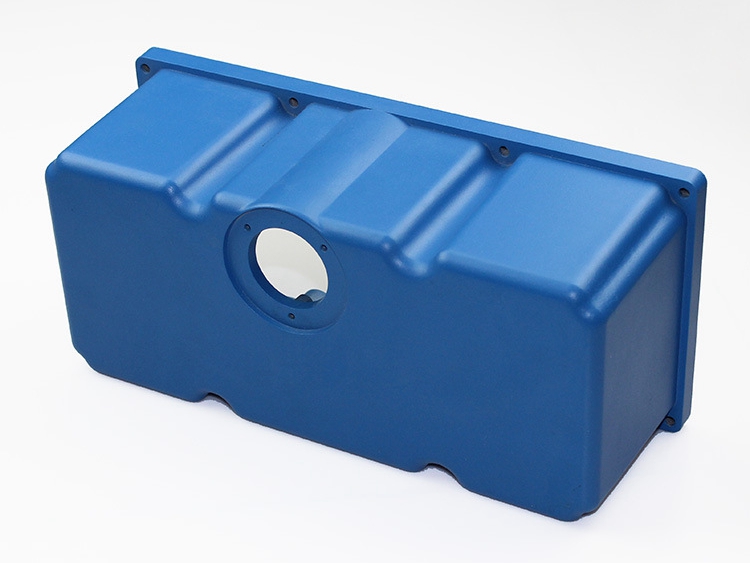
learn more
Powder Coating
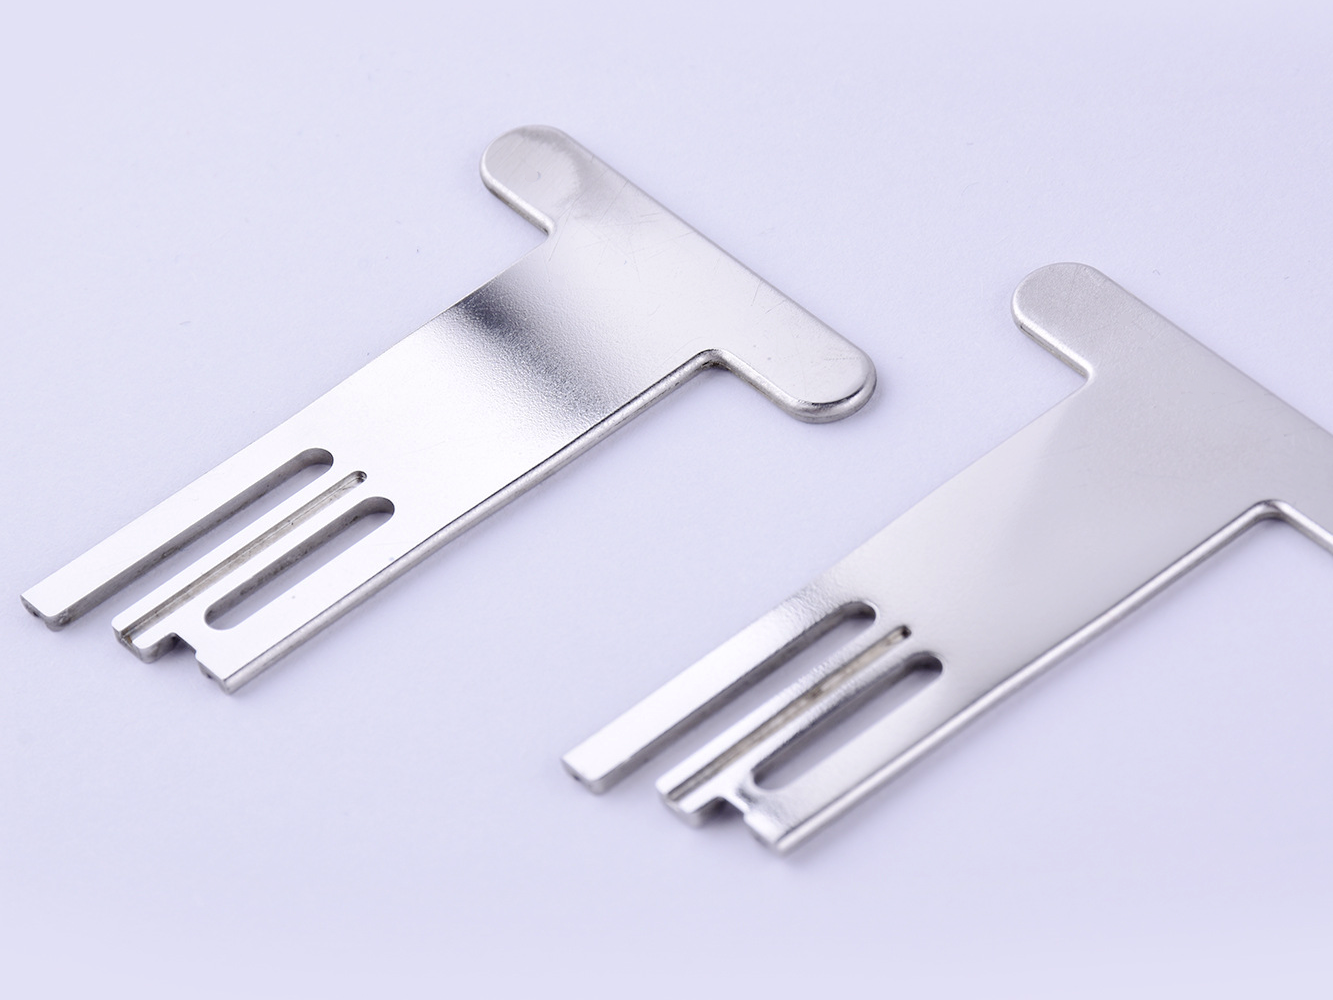
learn more
Electropolishing
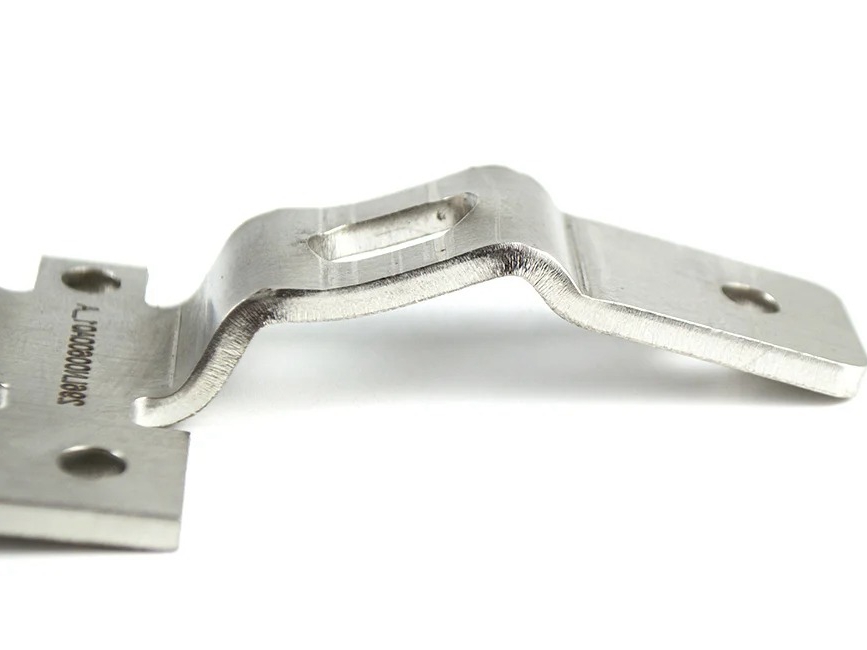
learn more
Passivation
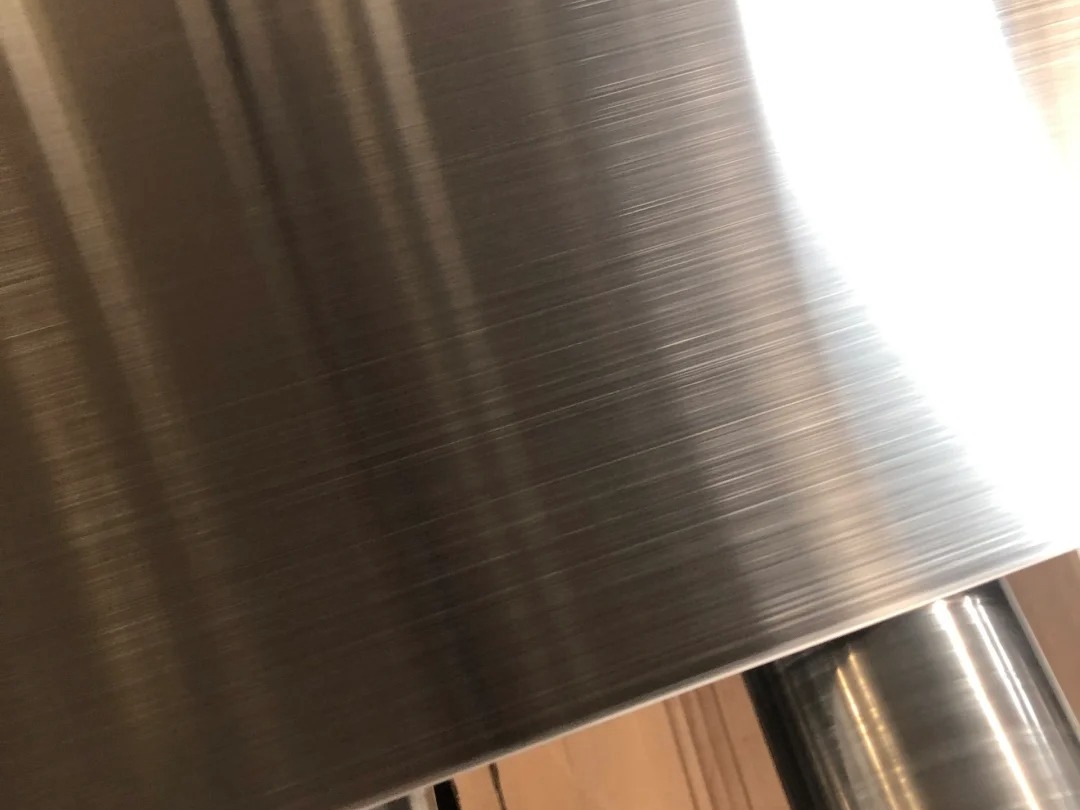
learn more
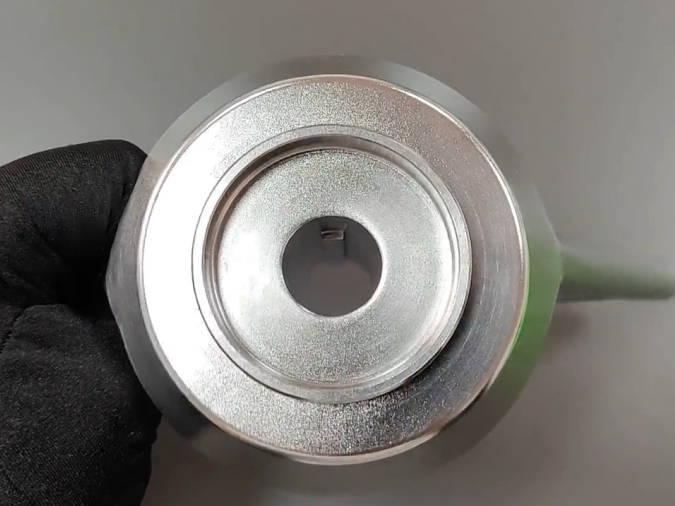
Brushing
learn more
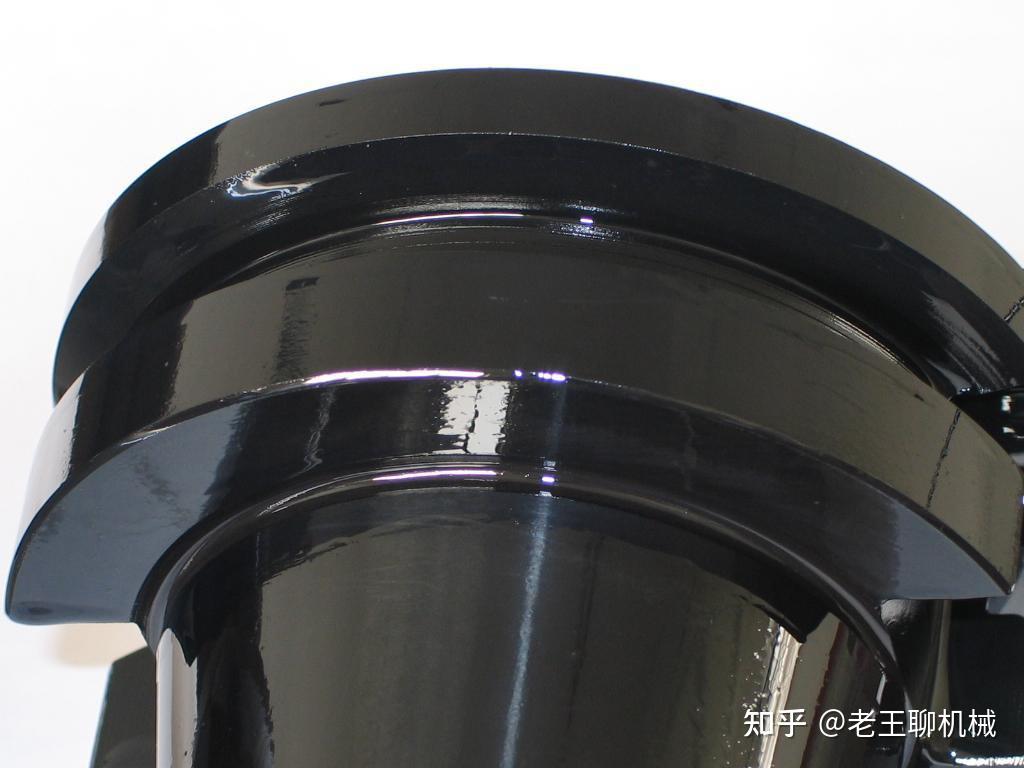
Black Oxide
learn more
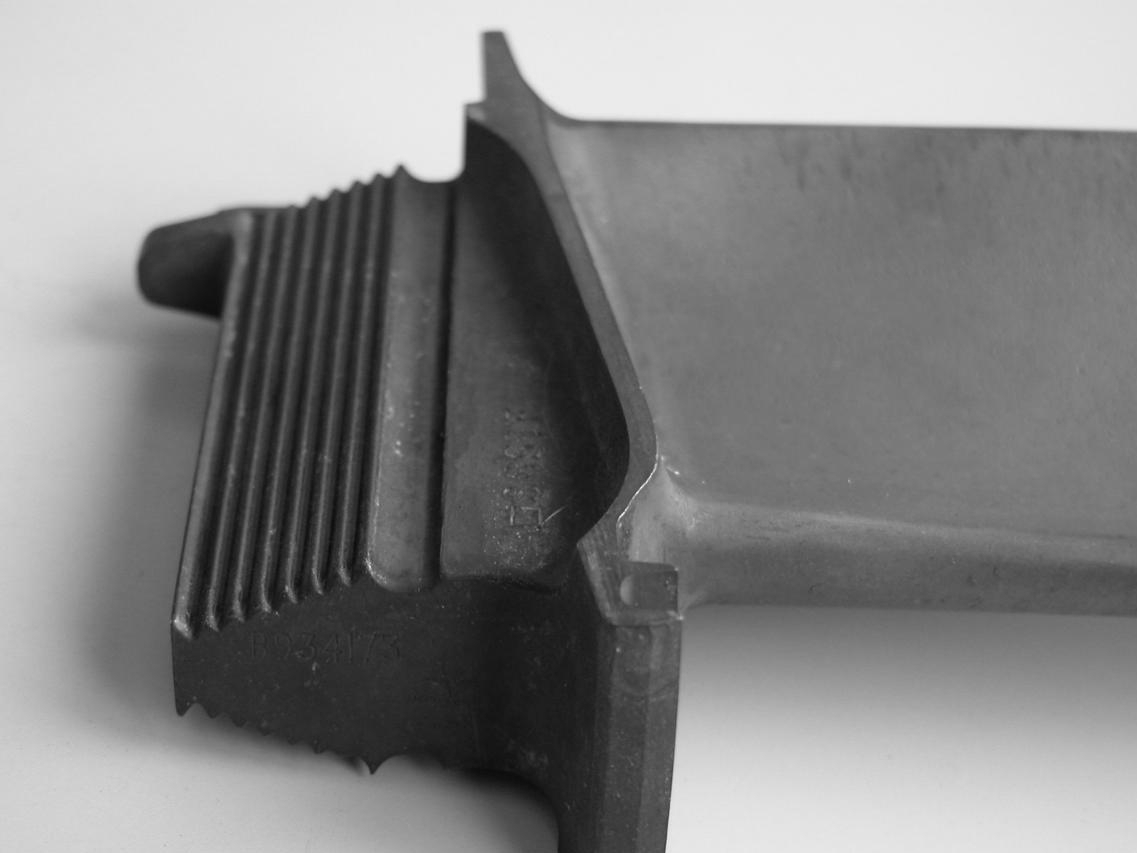
Heat Treatment
learn more
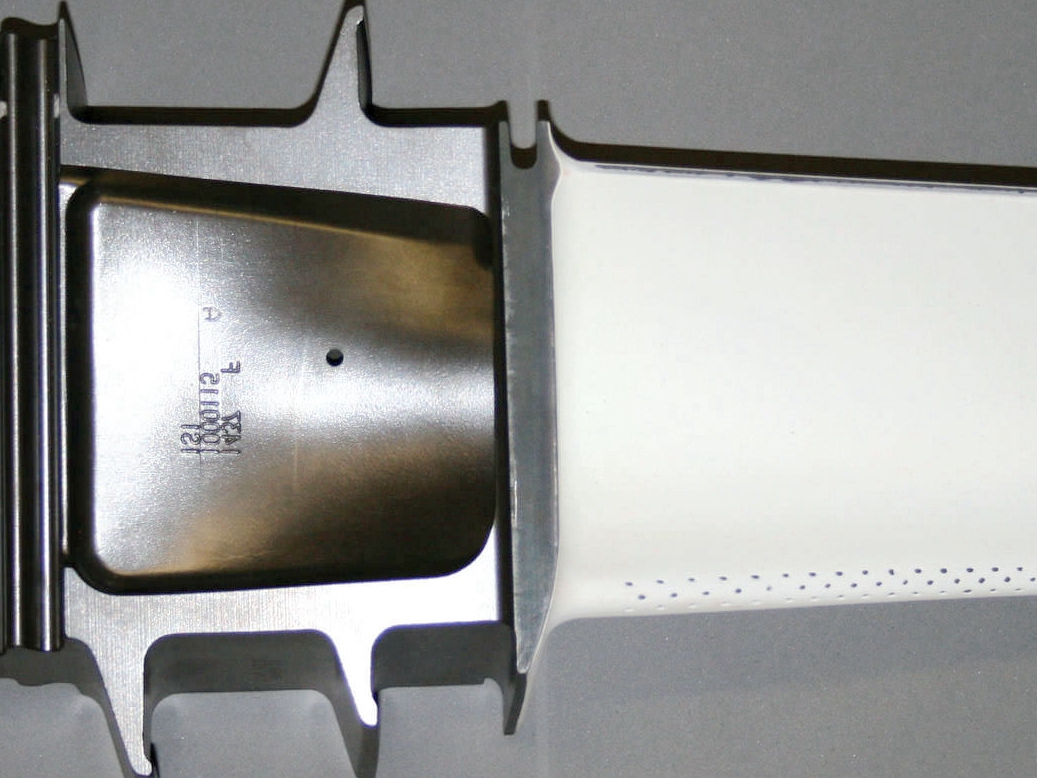
Thermal Barrier Coating (TBC)
learn more
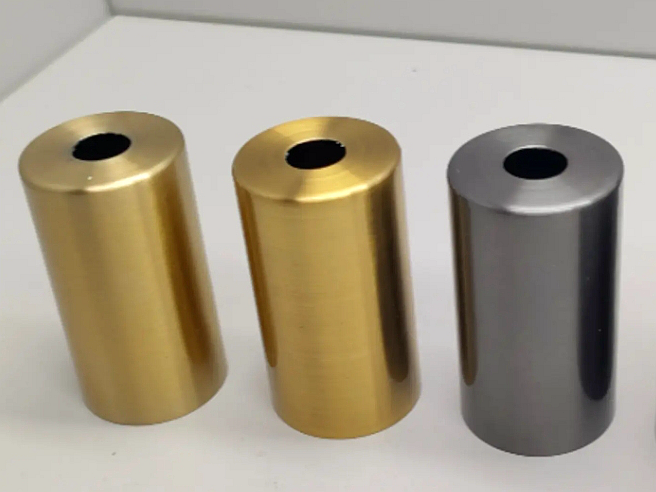
Tumbling
learn more
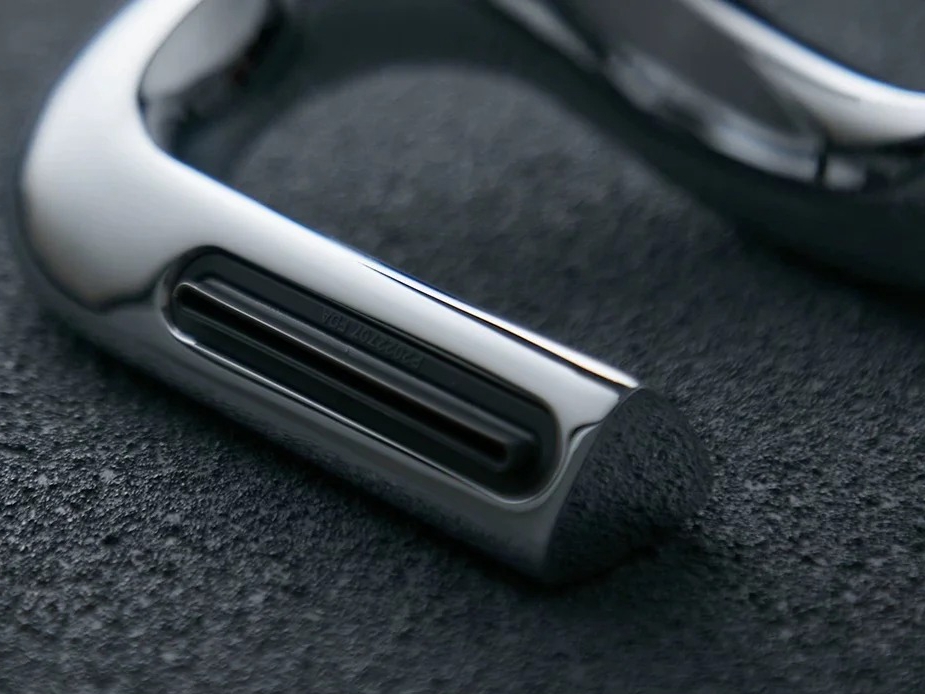
Alodine
learn more
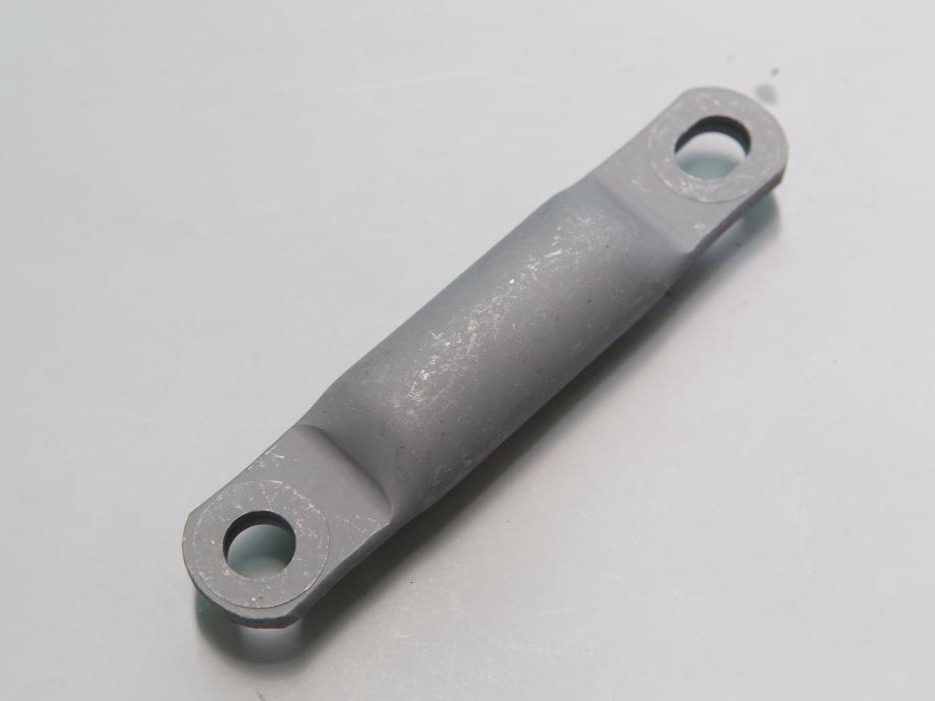
Chrome Plating
learn more
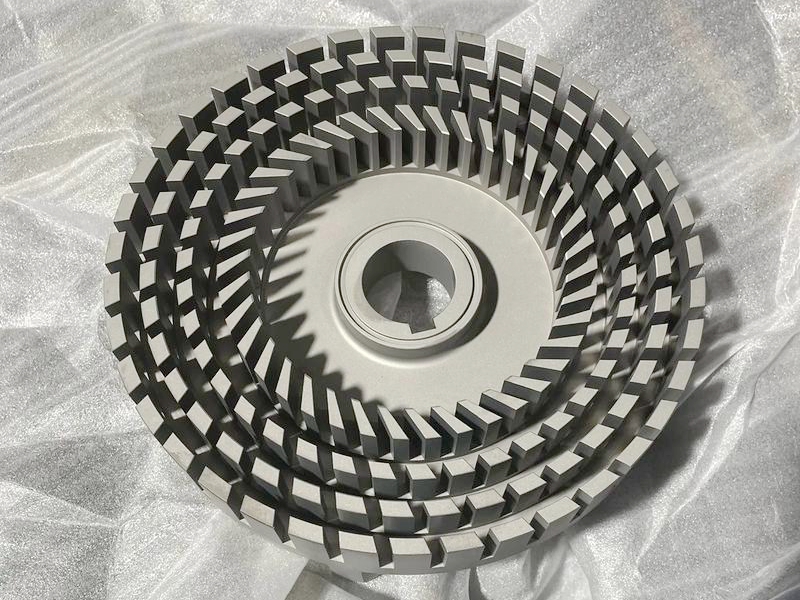
Phosphating
learn more
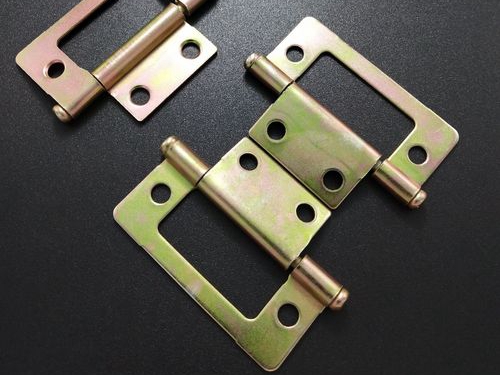
Nitriding
learn more
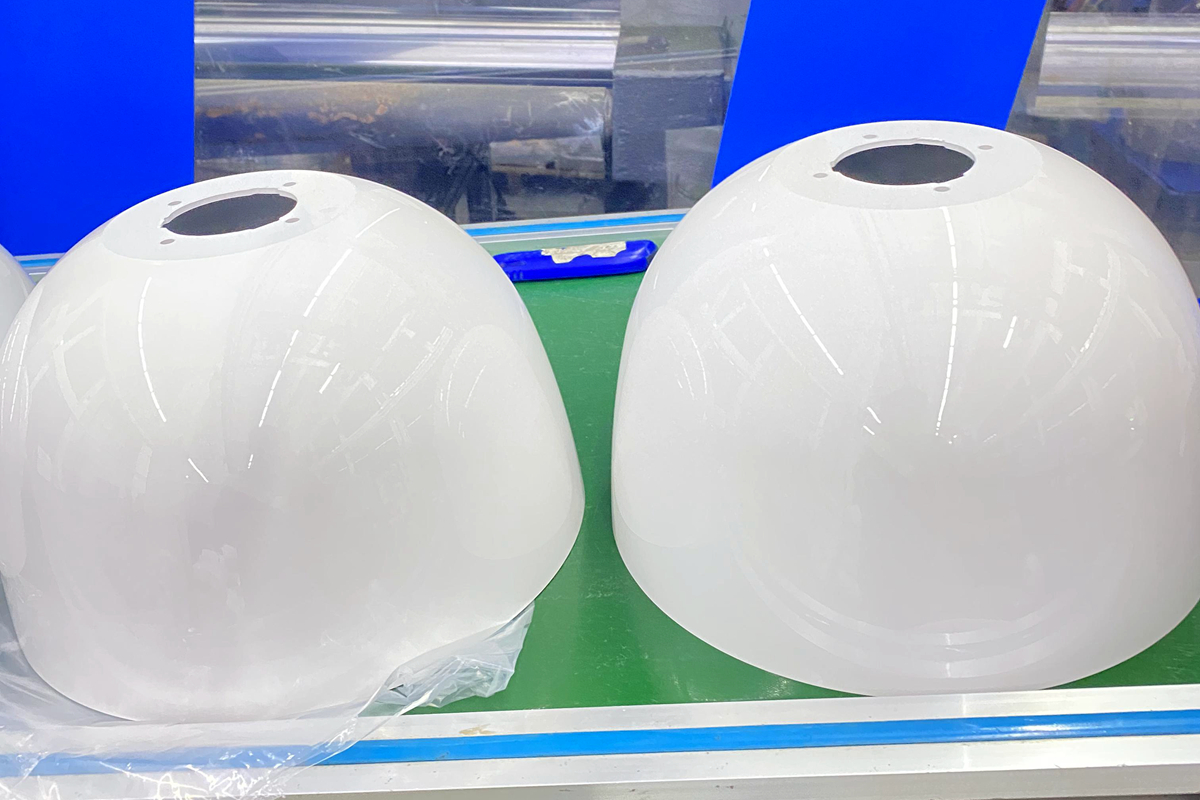
Galvanizing
learn more
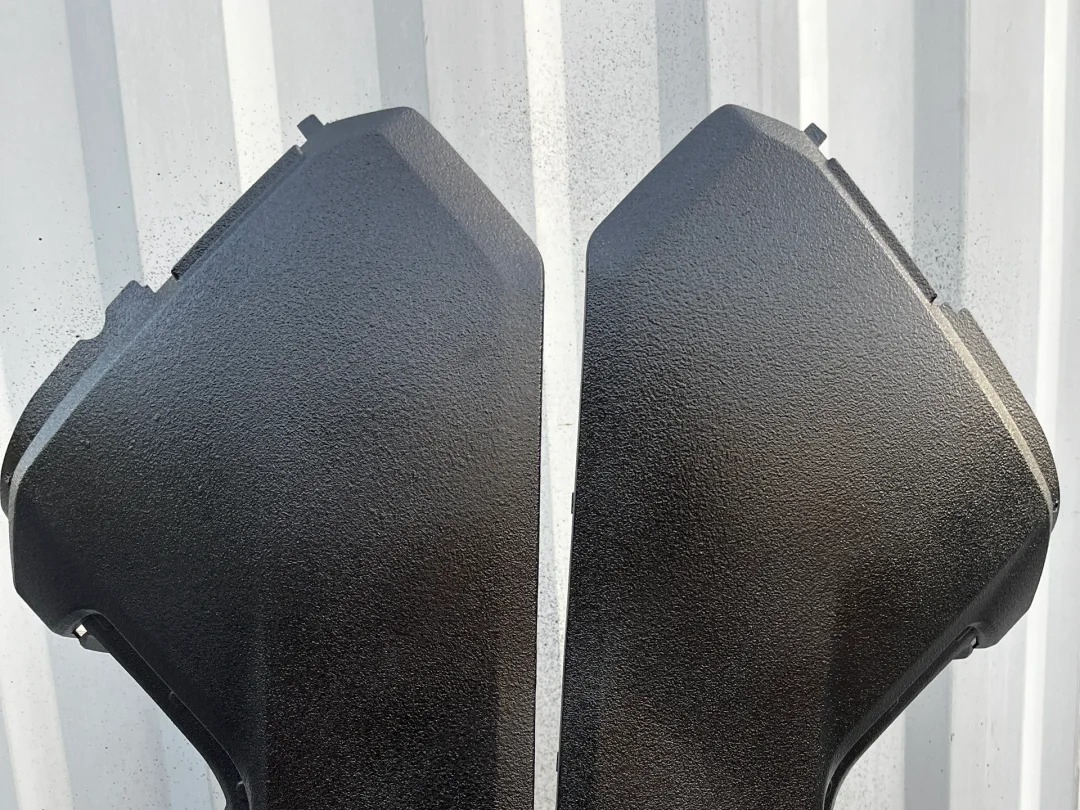
UV Coating
learn more
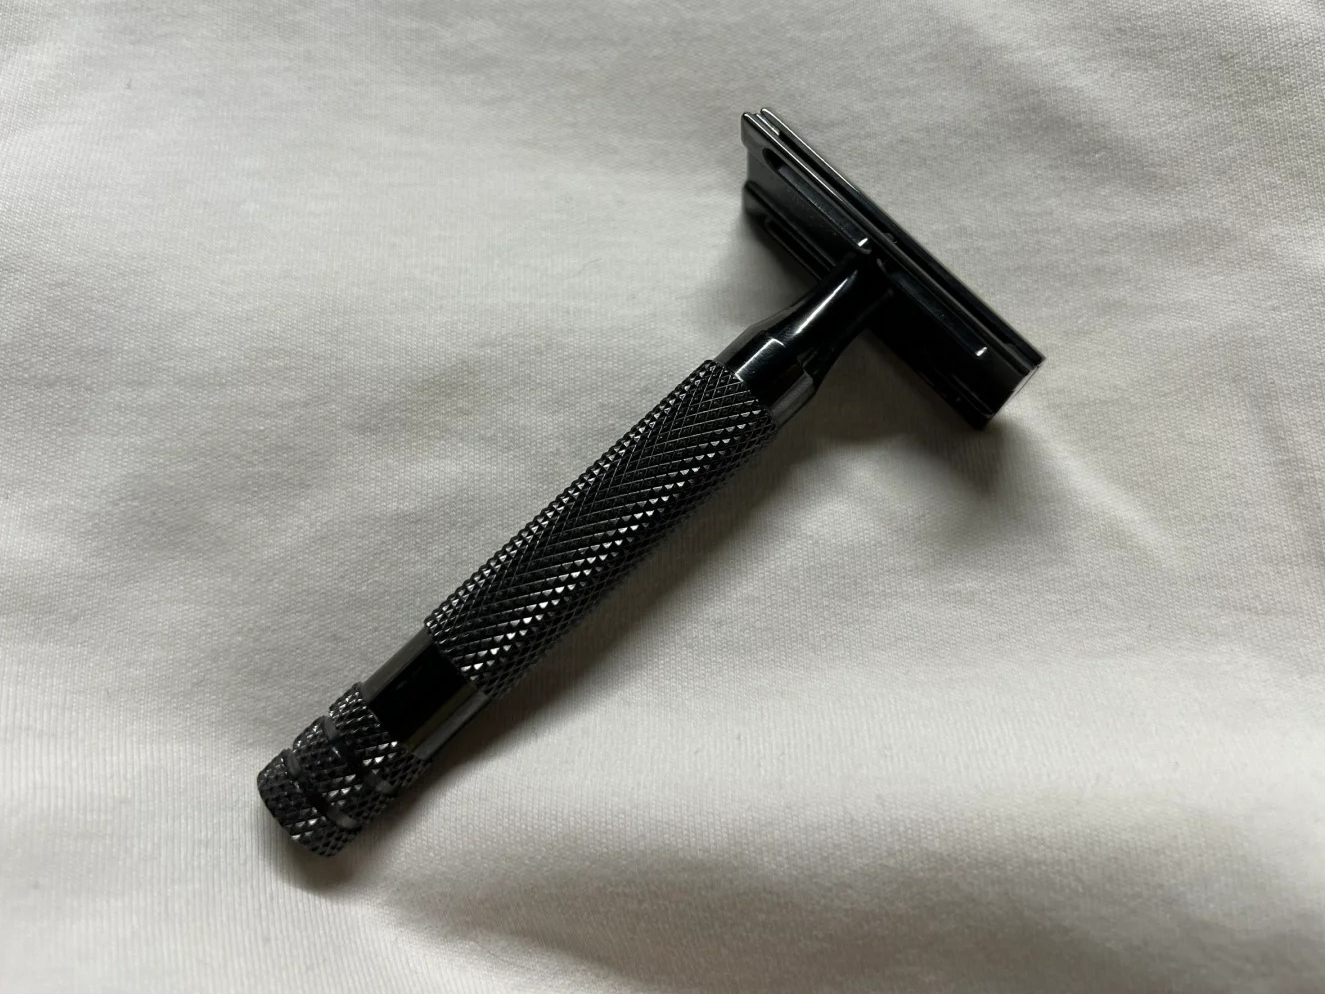
Lacquer Coating
learn more
Teflon Coating
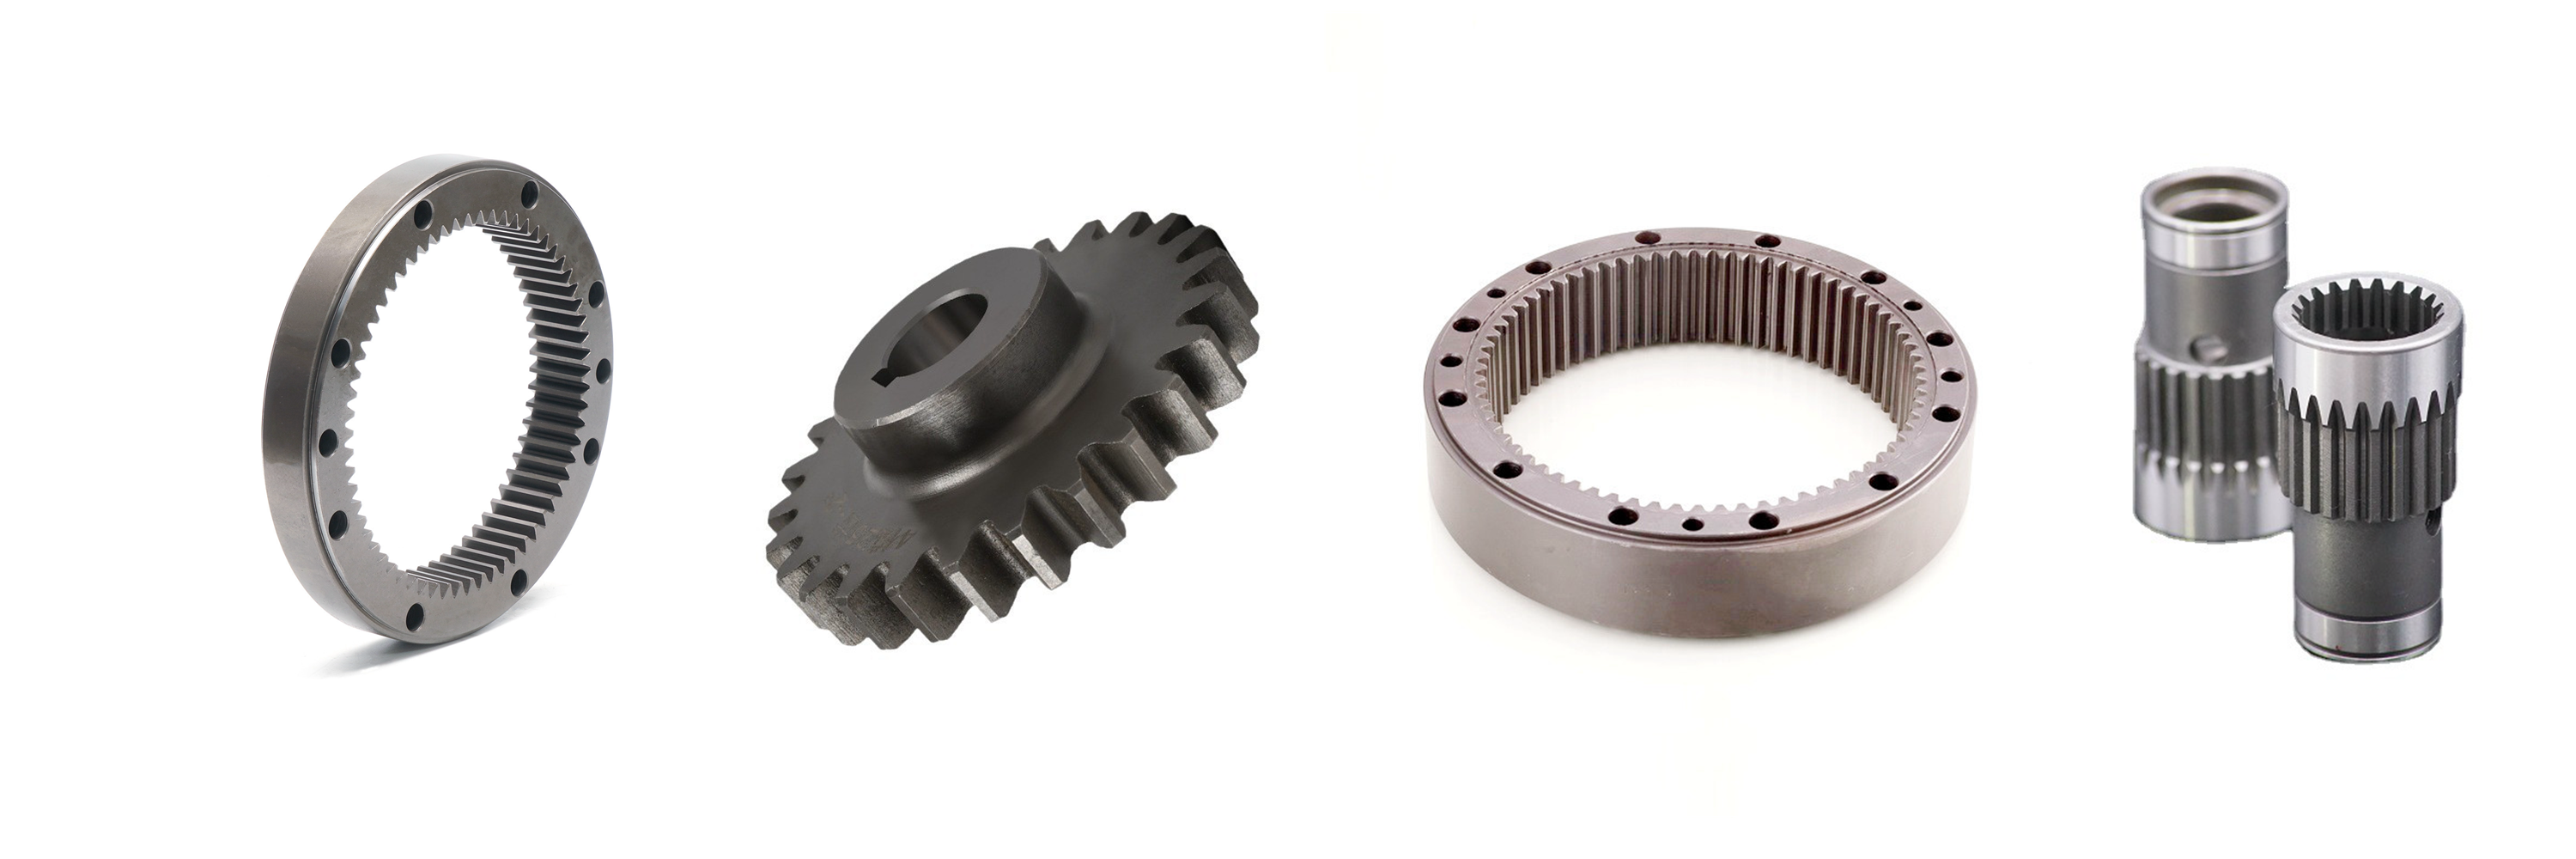
Custom CNC Boring Parts Gallery
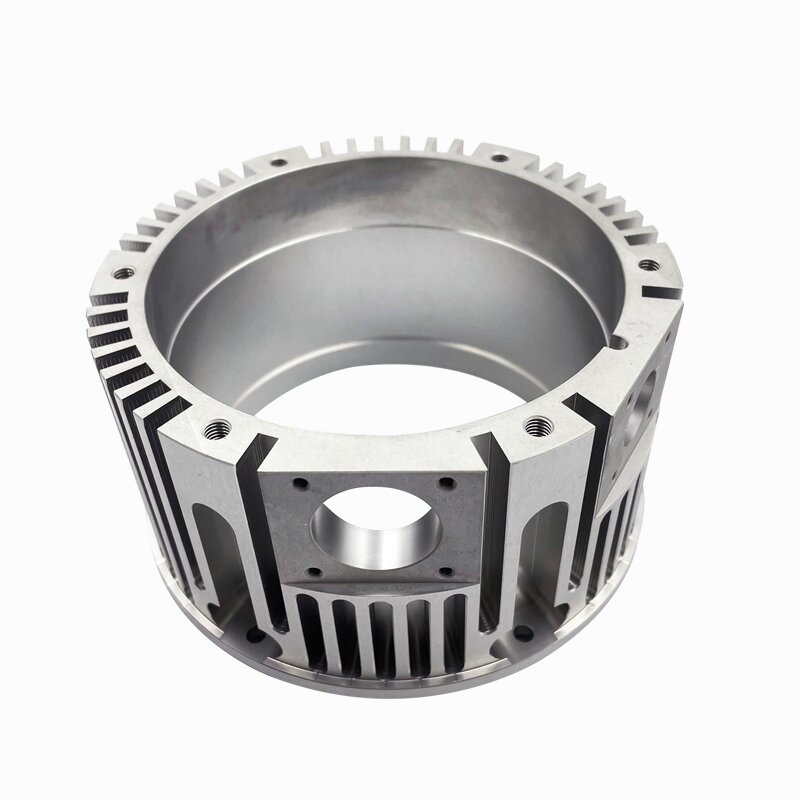
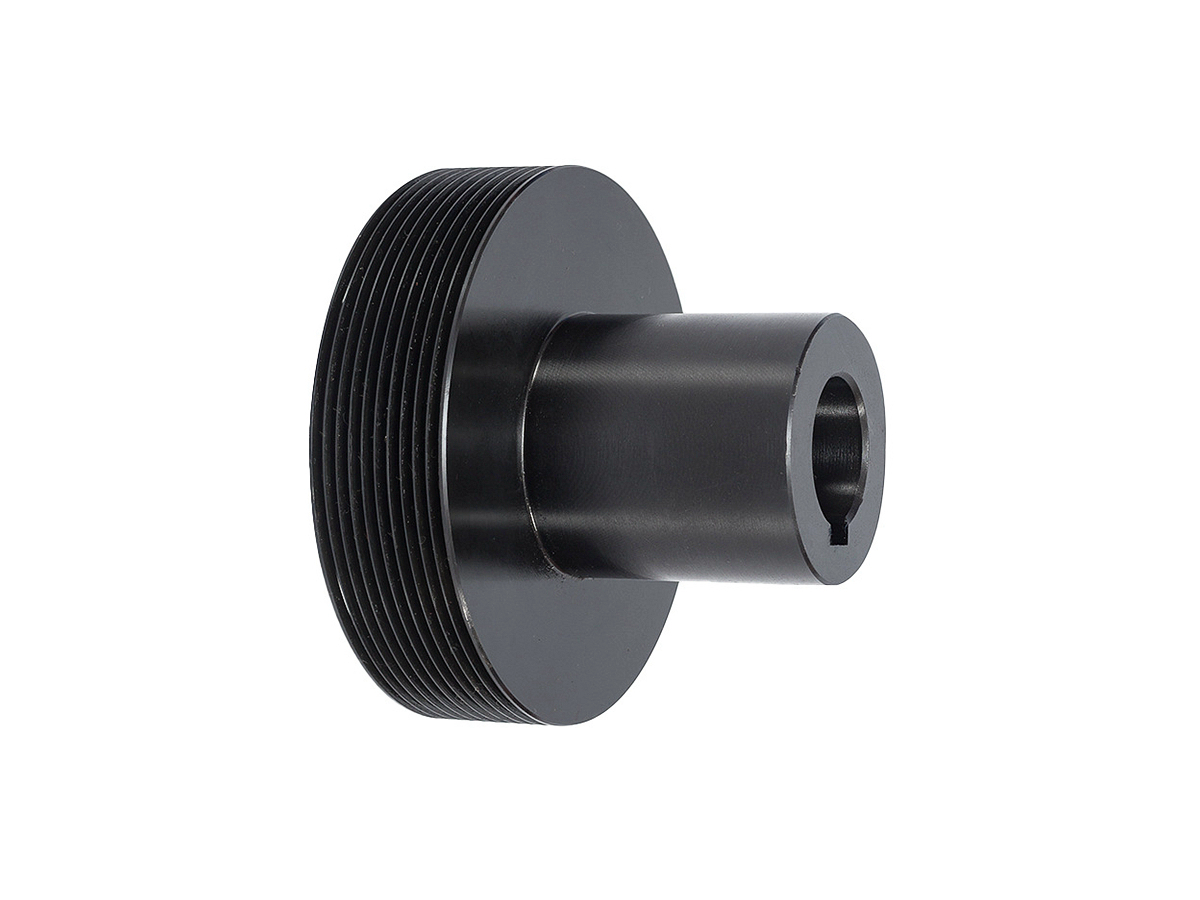
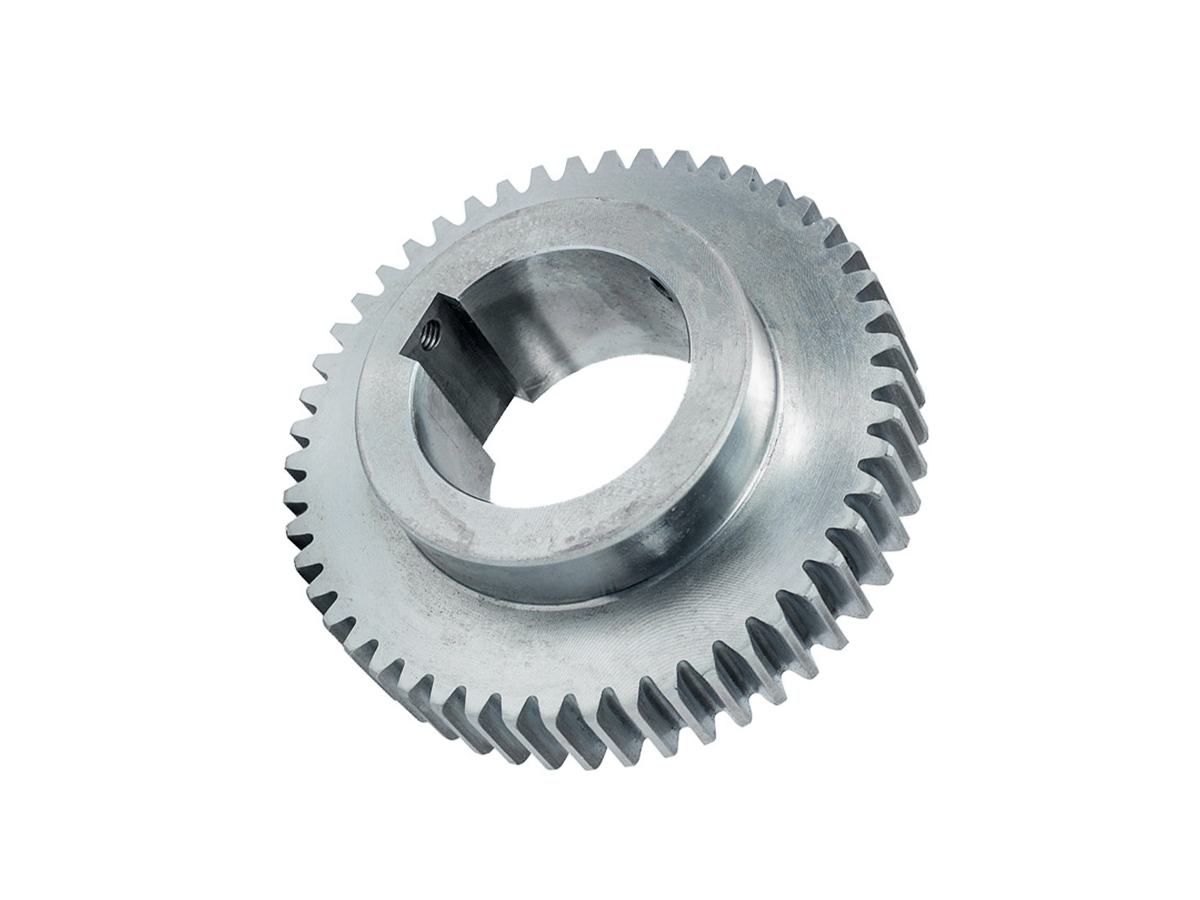
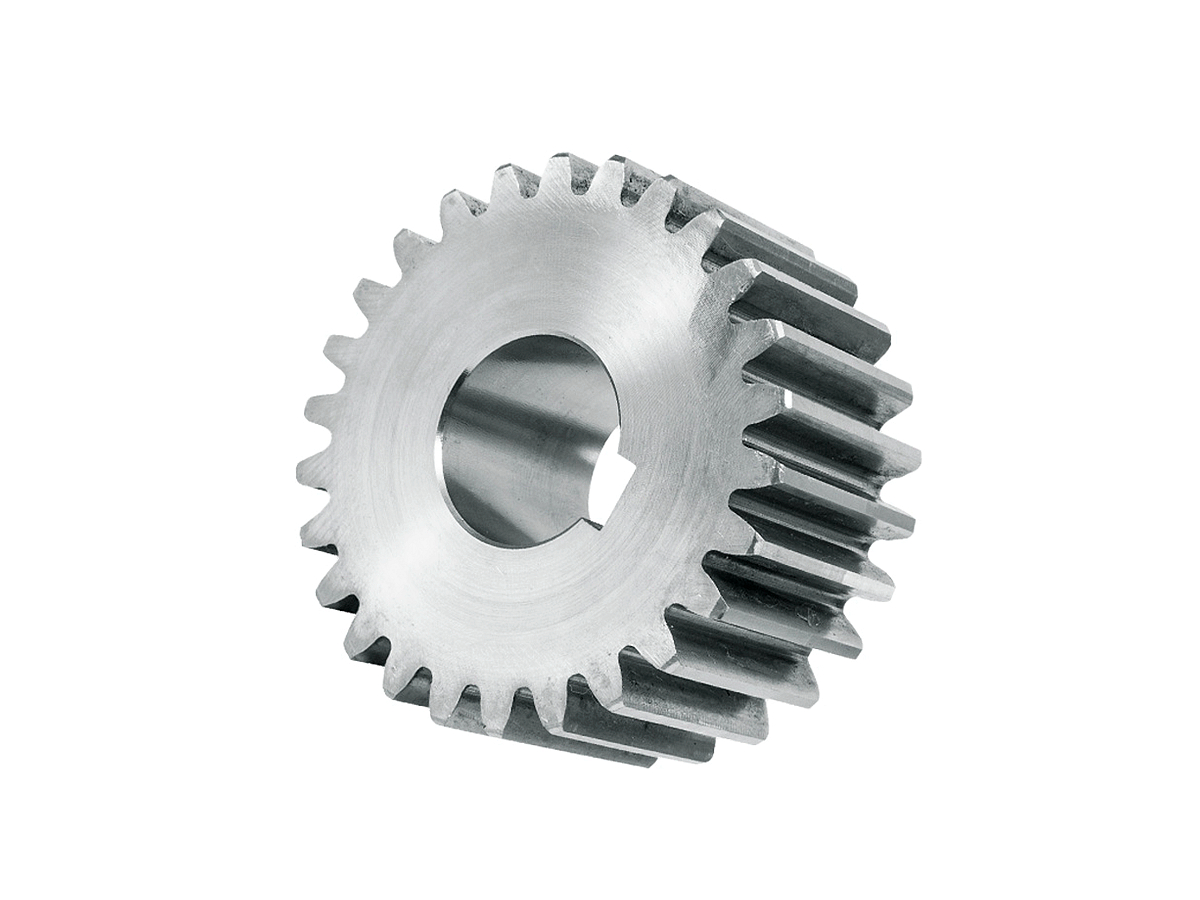
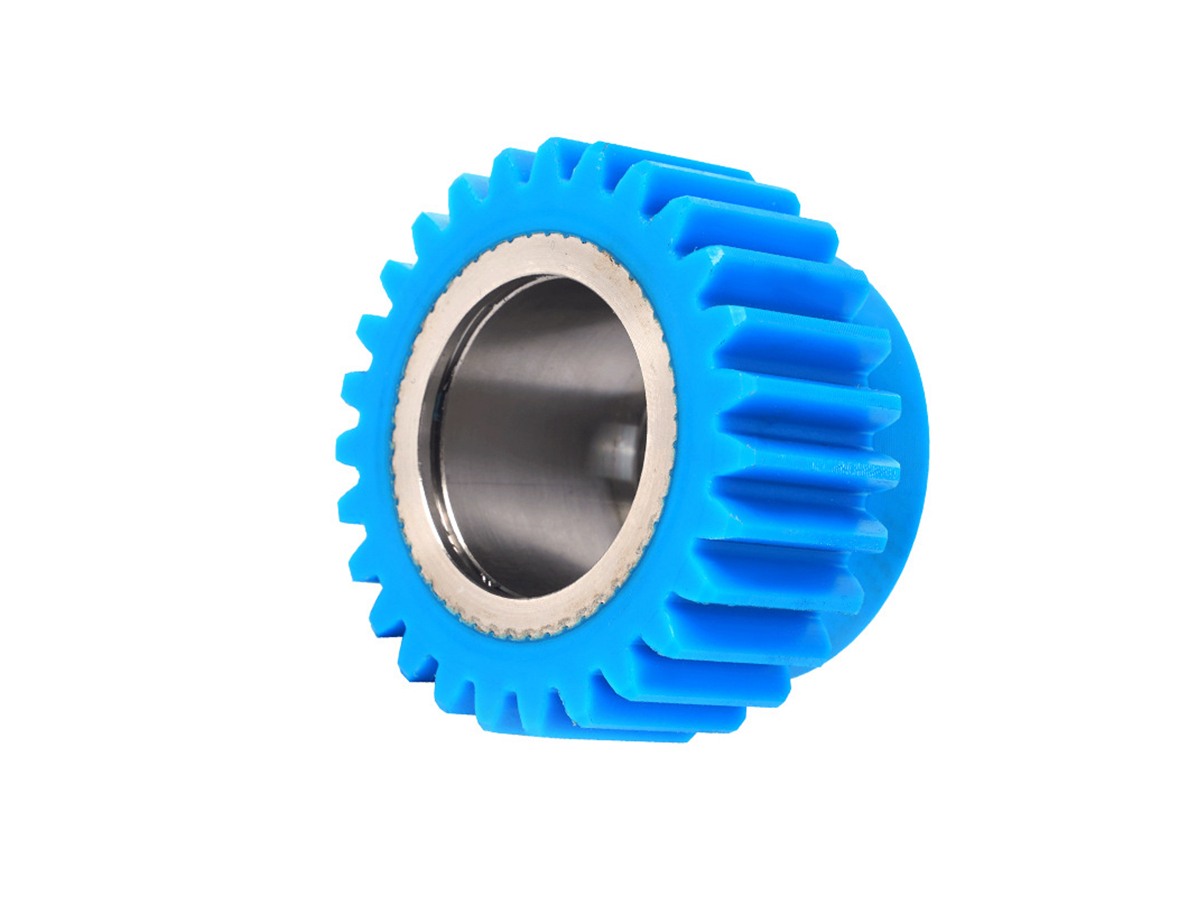
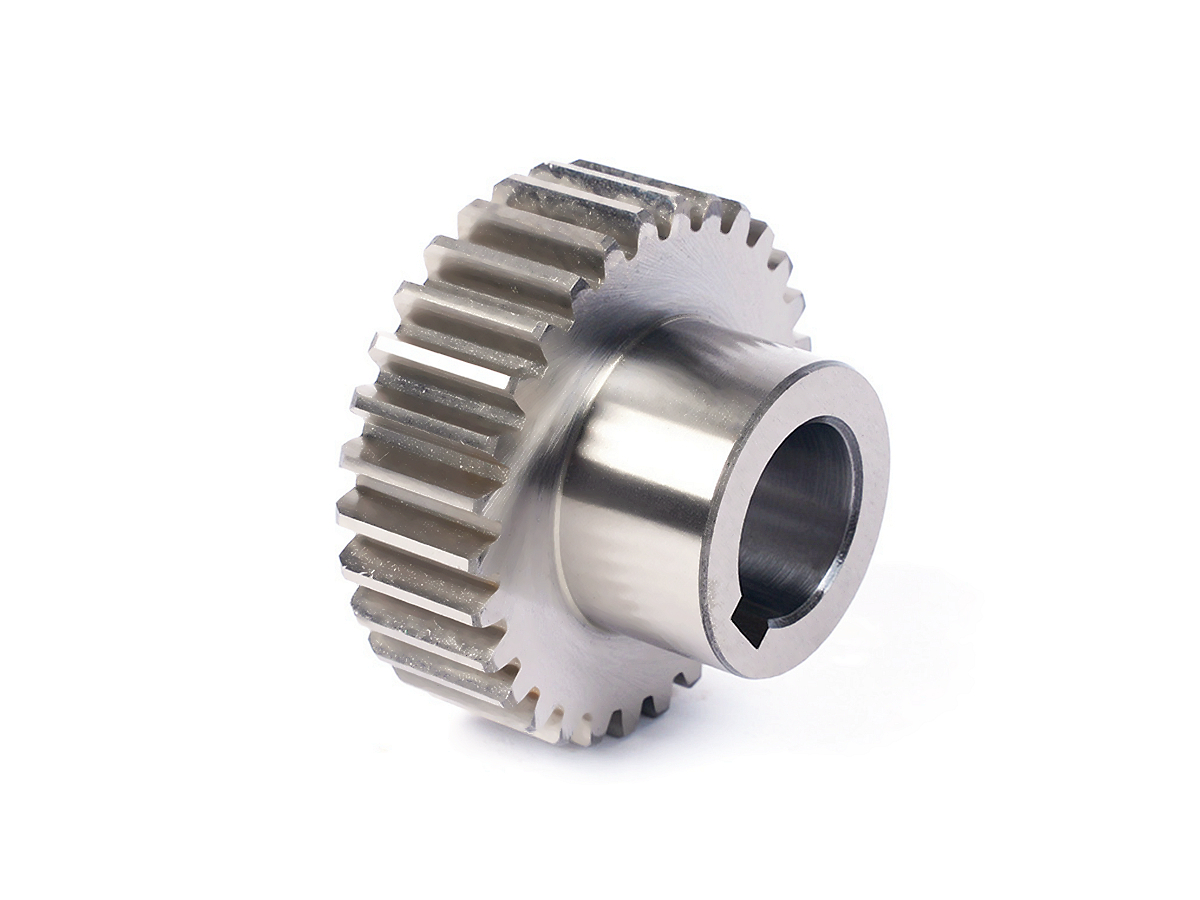
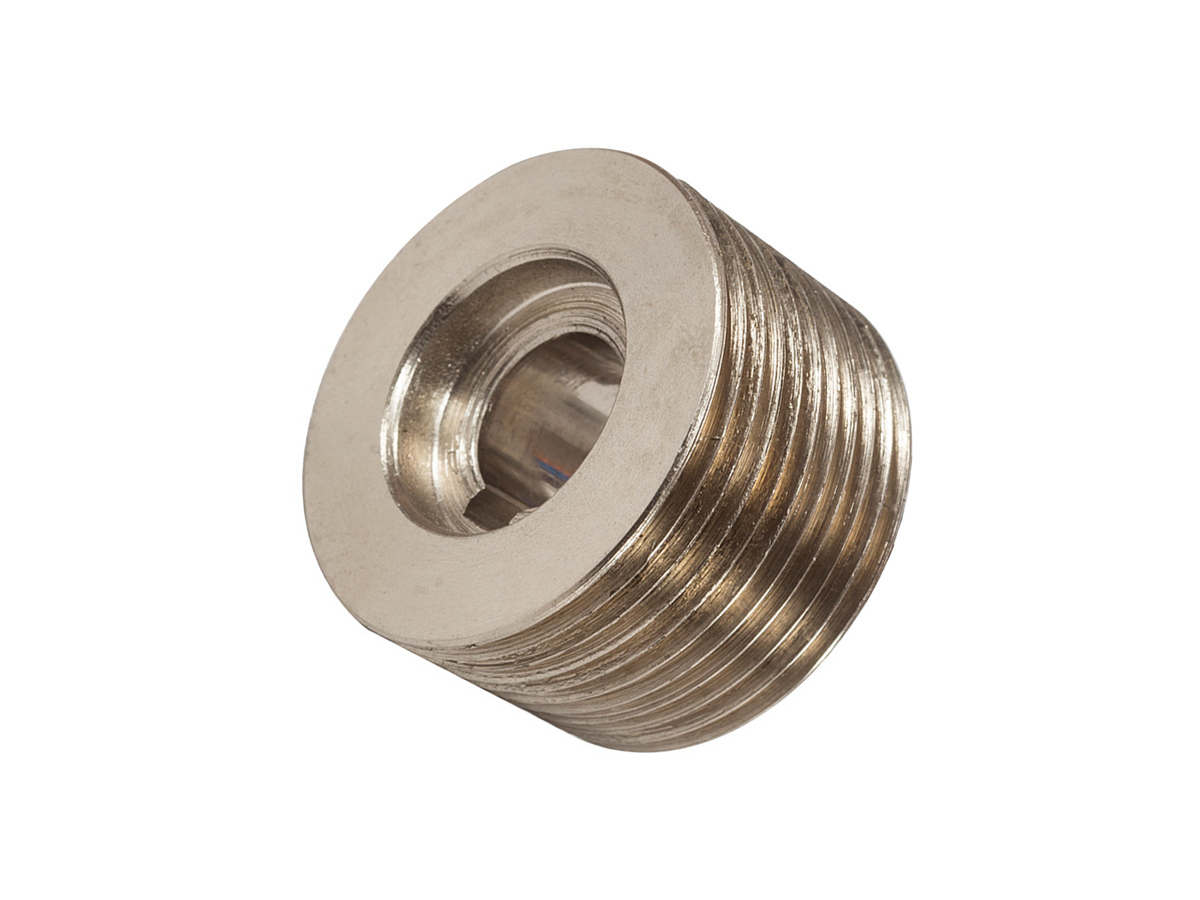
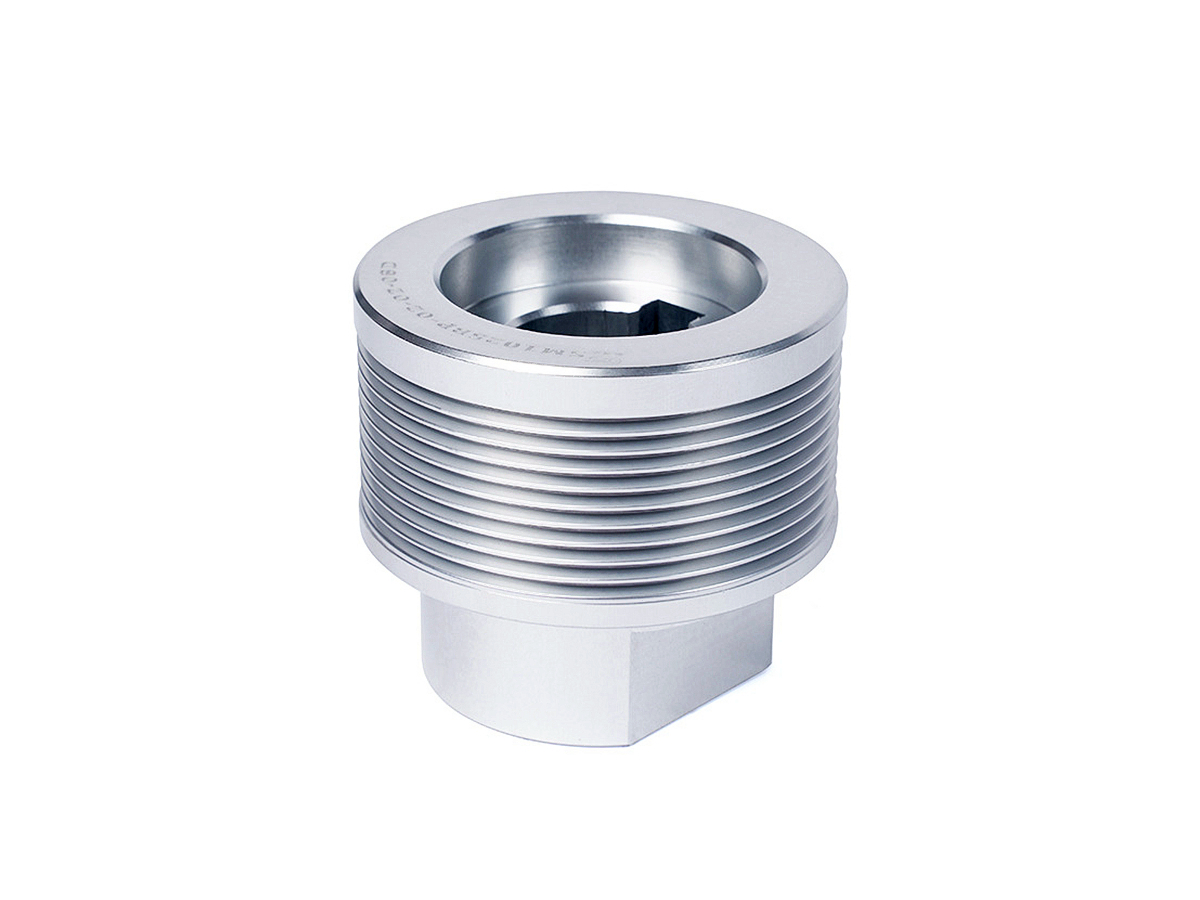
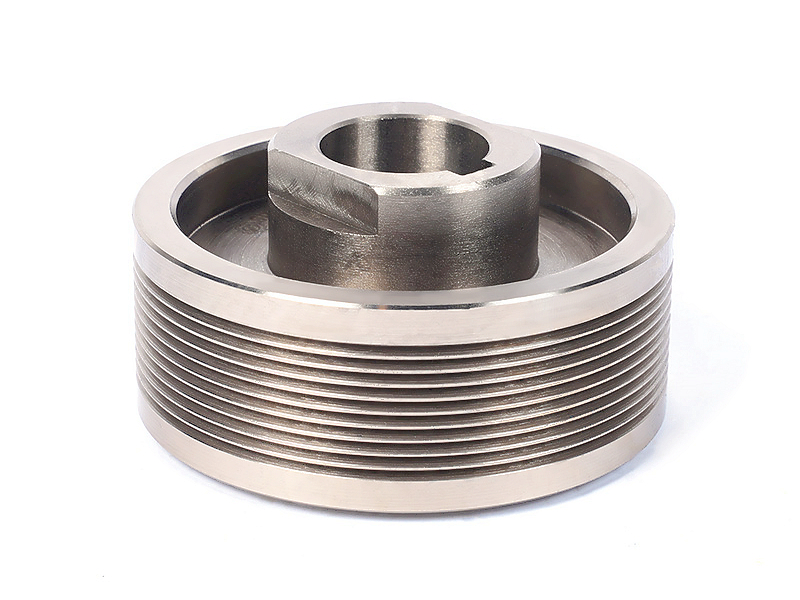
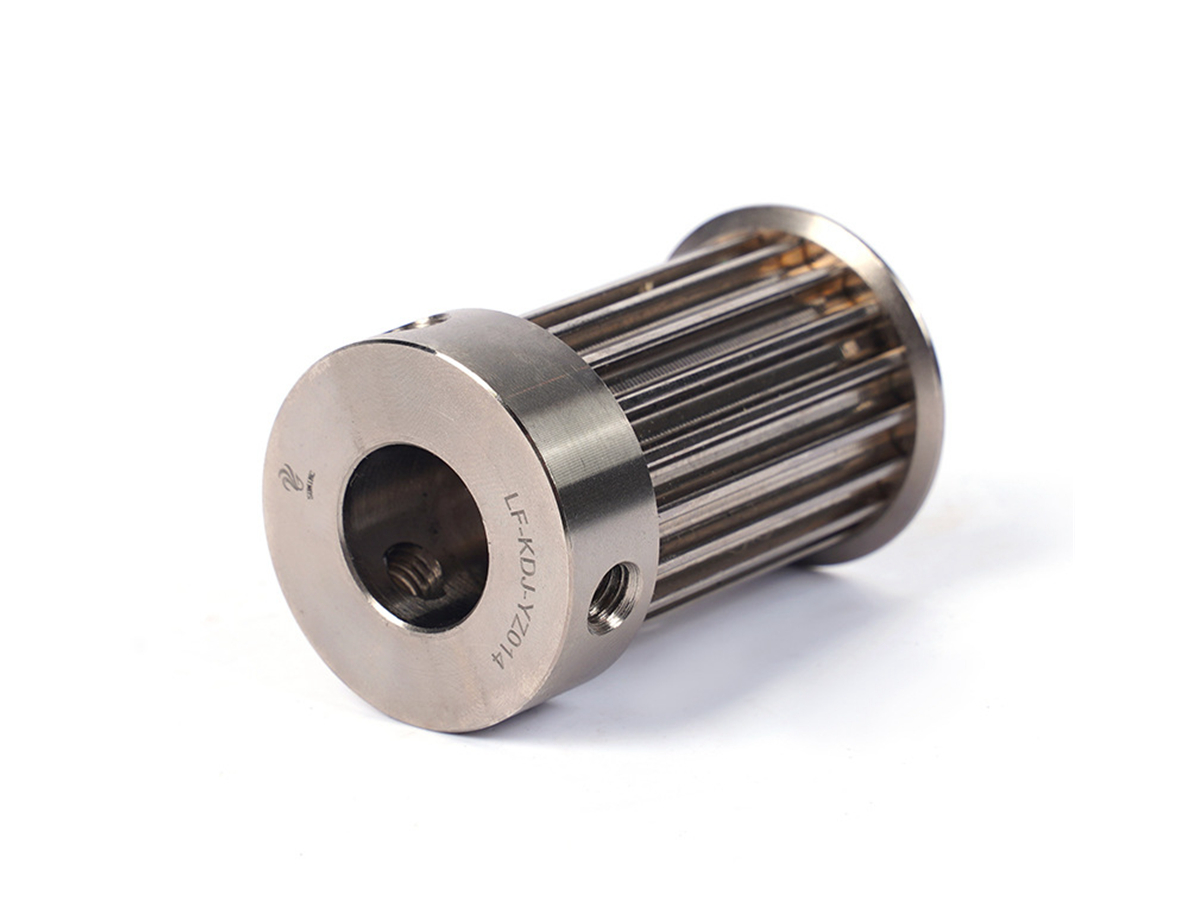
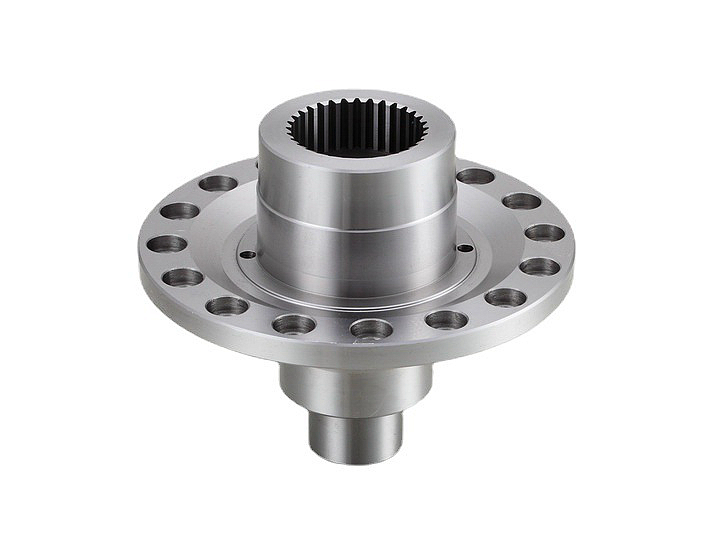
Our Custom CNC Boring Parts Gallery showcases precision-engineered components, including cylinders, housings, and shafts, tailored for various industries. Each part highlights tight tolerances, smooth finishes, and exceptional quality, demonstrating our expertise in advanced CNC boring manufacturing solutions.
Let's Start A New Project Today
CNC Boring Tolerance Suggestions
CNC Boring Tolerance Suggestions ensure precision and consistency in machining. For general applications, ±0.1 mm tolerance is standard, while high-precision parts require ±0.02 mm to ±0.05 mm. These guidelines guarantee complex components' optimal fit, performance, and surface quality.
CNC Boring Design Guideline
CNC Boring Design Guidelines outline essential best practices for achieving precise and functional components. Key considerations include optimal radii, hole dimensions, wall thickness, surface finishes, and tool access, ensuring accuracy, efficiency, and quality in CNC boring operations.
